
Making the Inez Bag
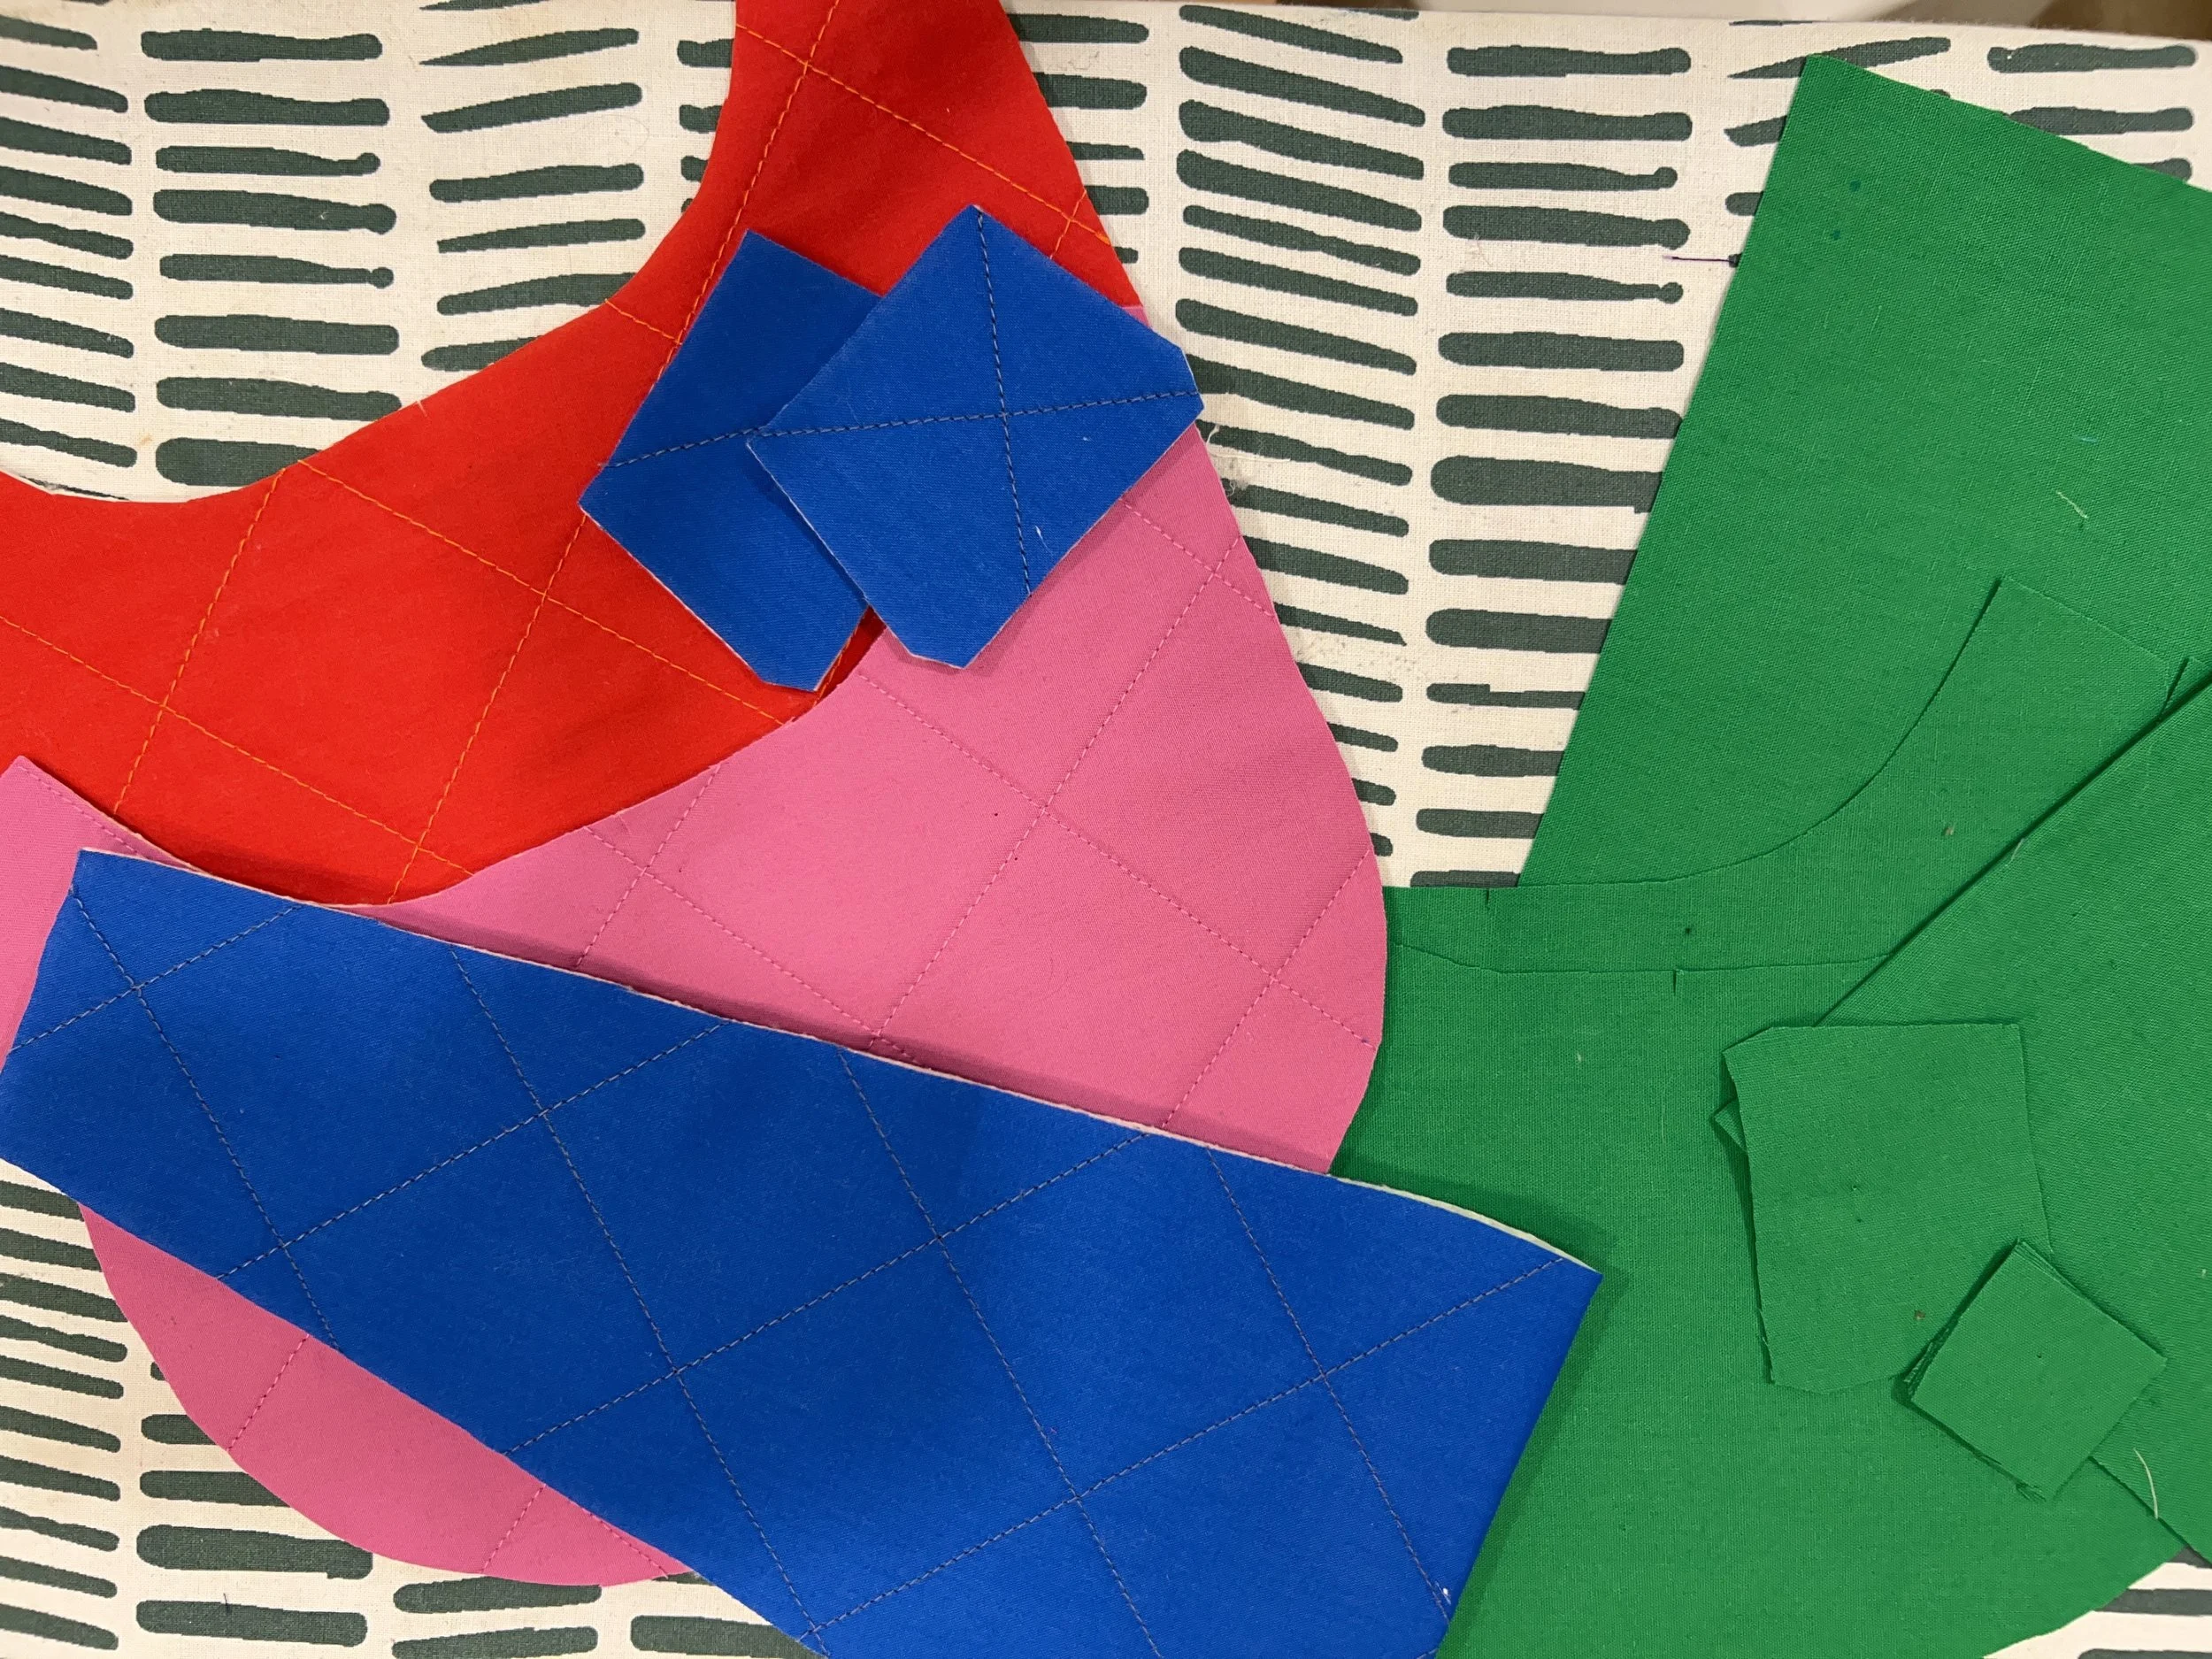
Cut and Mark all of your pattern pieces.
Create the interior zip pocket (Optional)

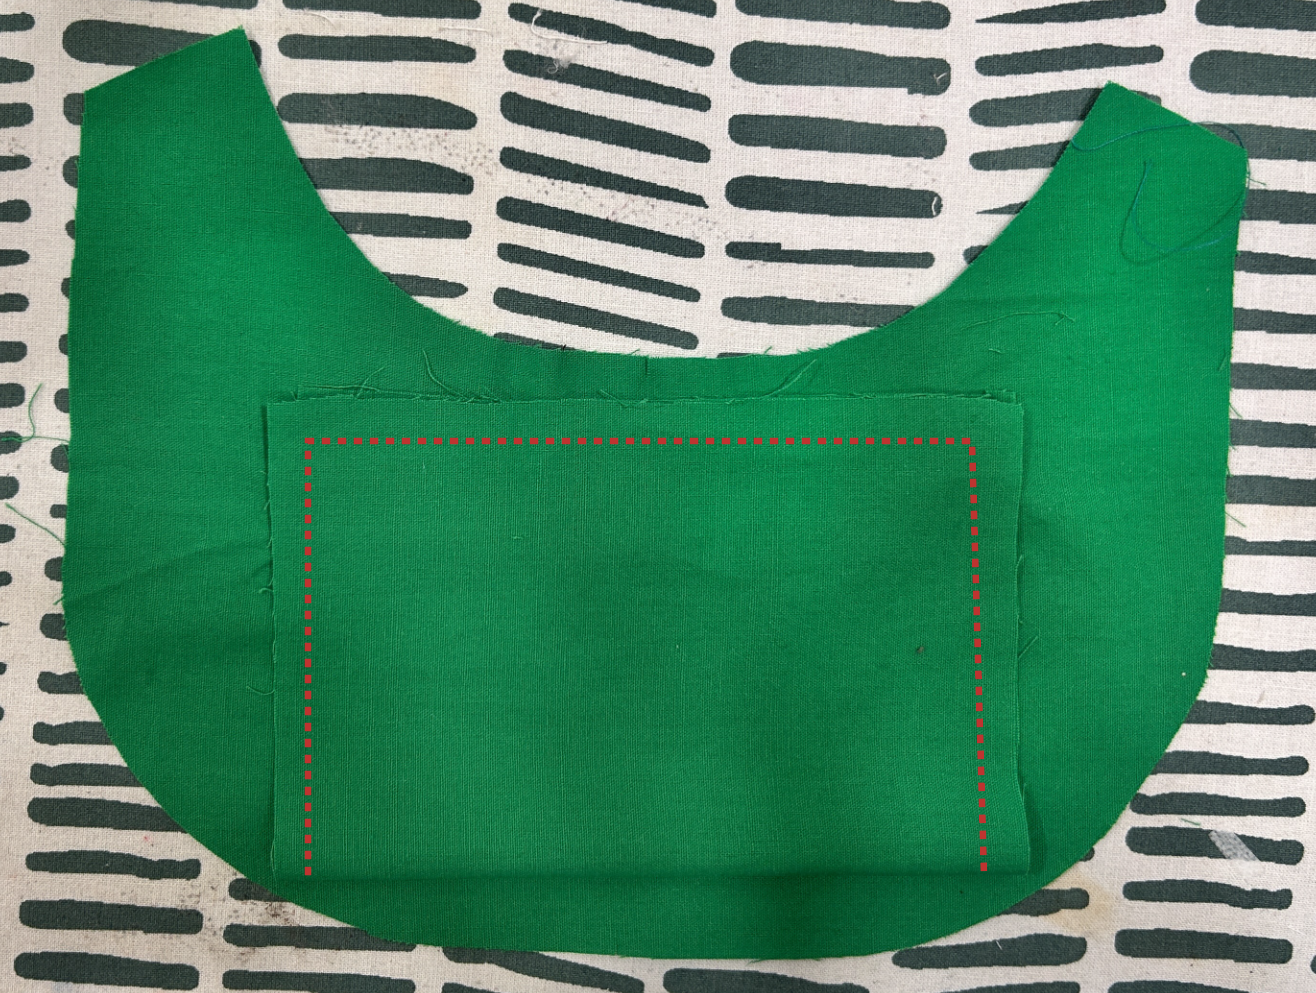
Take one piece of lining fabric and the pocket bag piece. Match up the dots you marked as best as possible. Draw a line connecting all 4 dots. This will be your sew line. Sew at a regular stitch length.
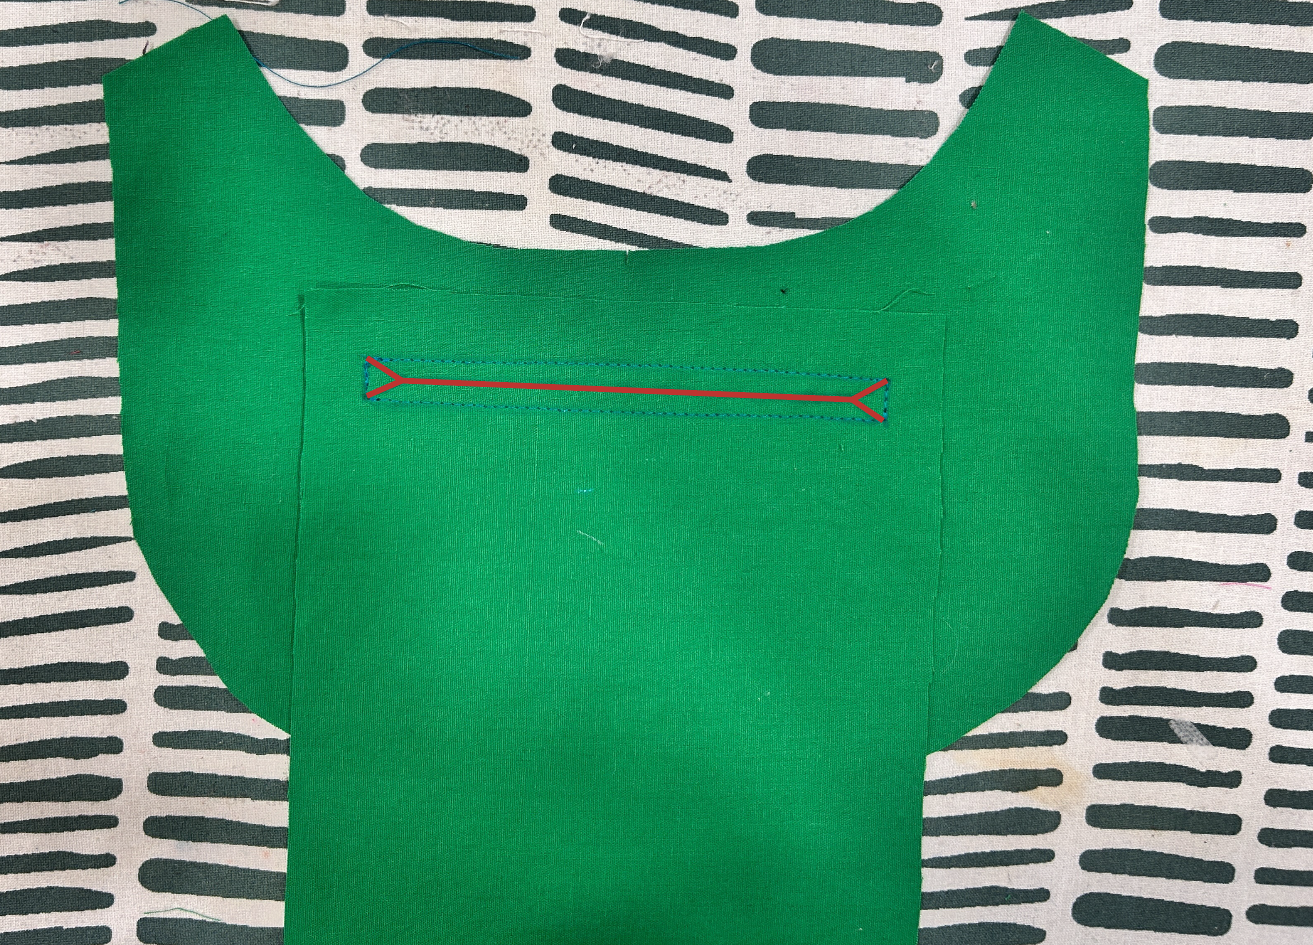
Draw a line down the center of the rectangle and about 1/2 away from the edge, draw two lines to the corners of the rectangle. This will be your cut line.
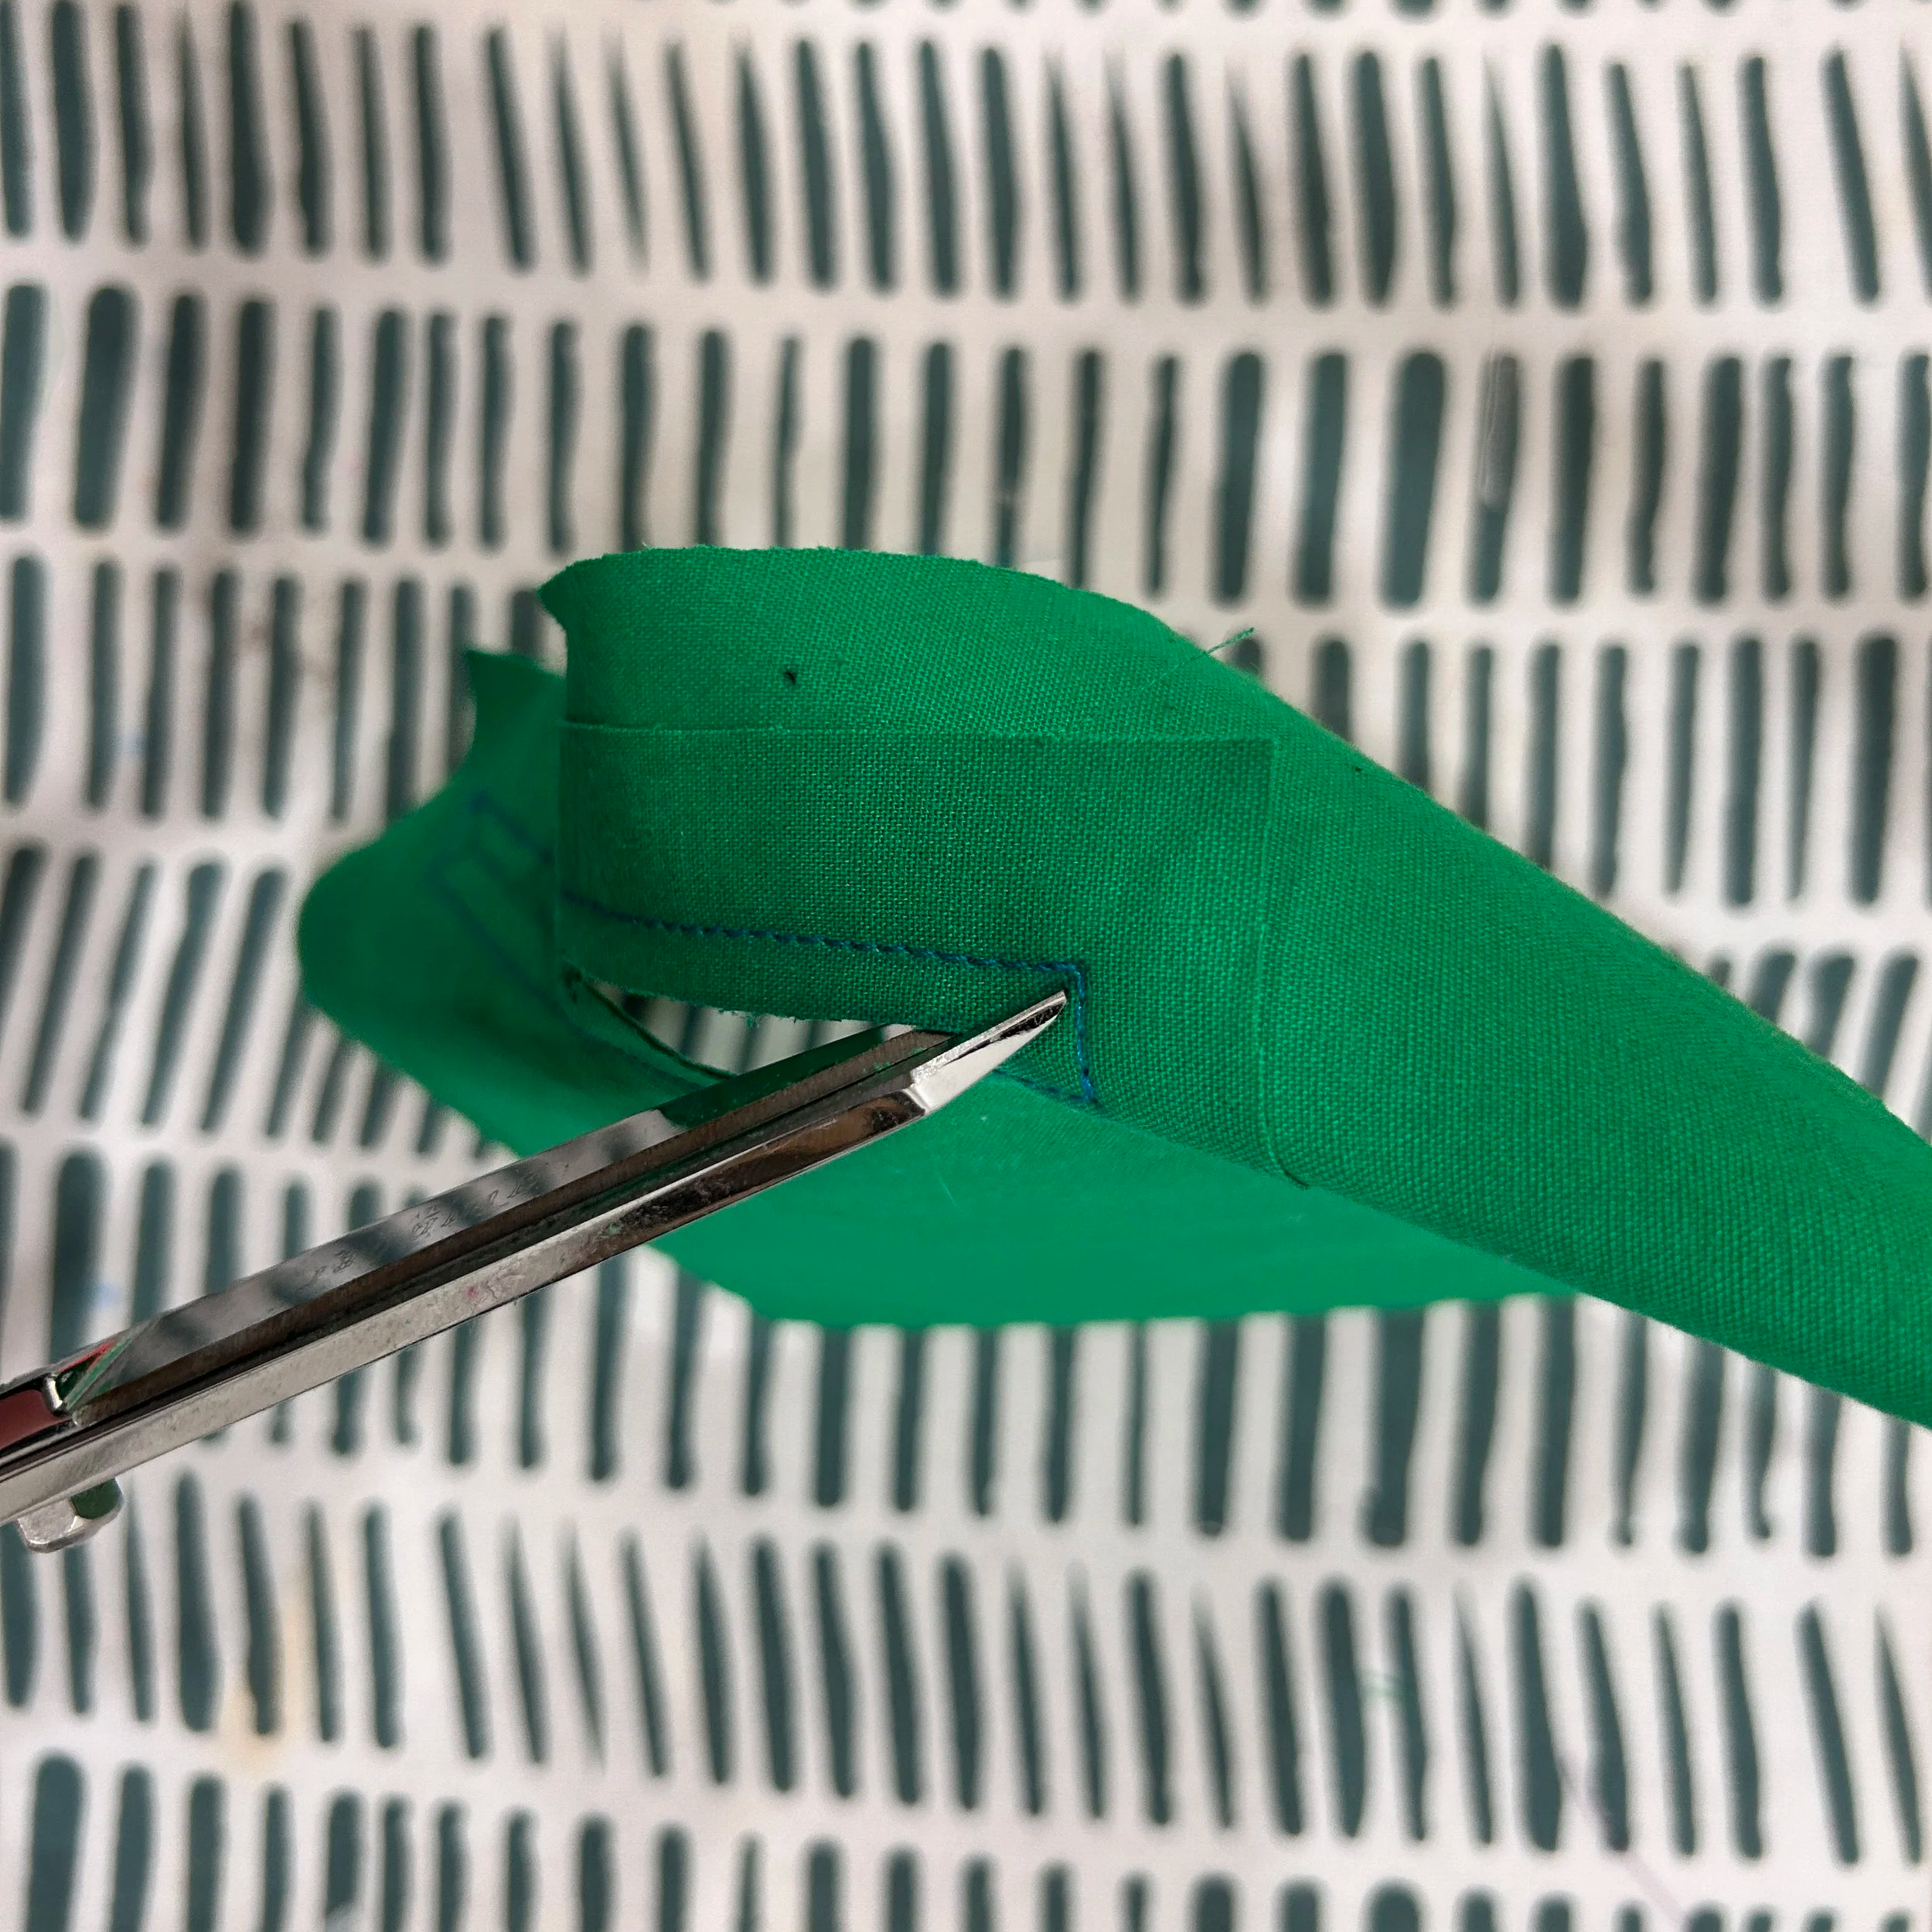
Be careful to cut close to the corner as possible but not through the seam!
Once you are done cutting through. You are going to pull the entire pocket bag through the cut opening to the other side. Take your time with this step and give it a nice press. Pressing will make a huge difference!
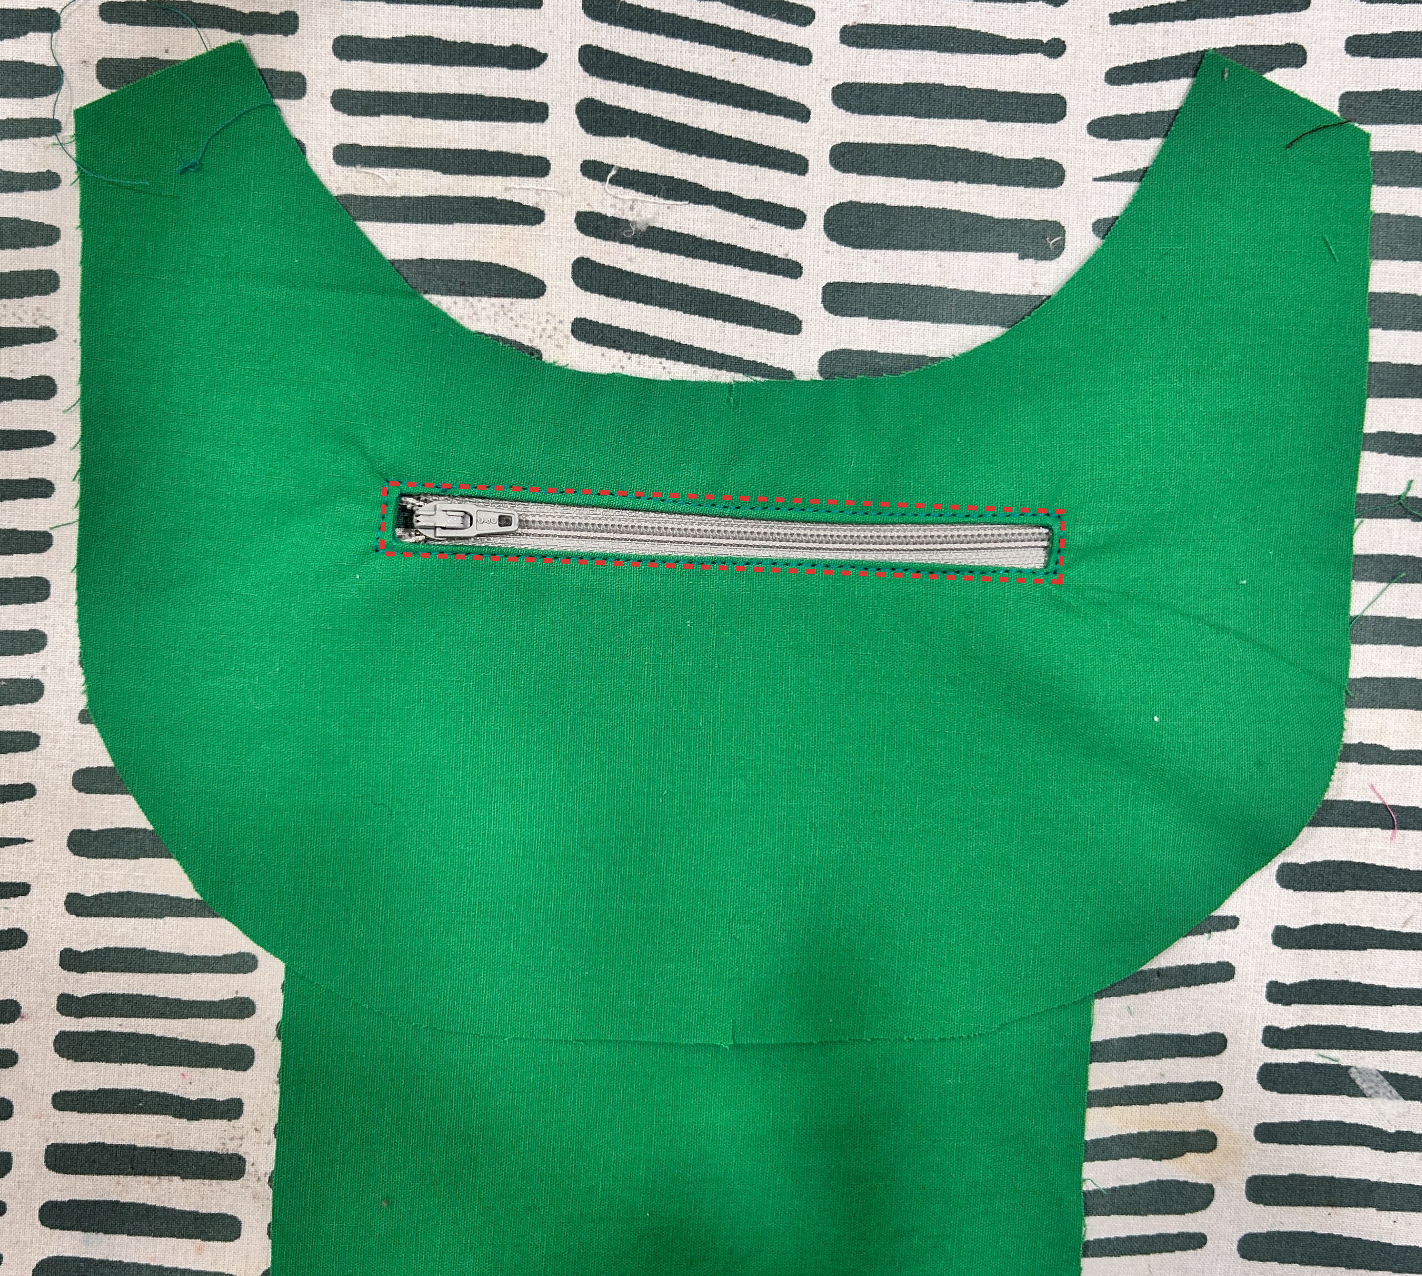
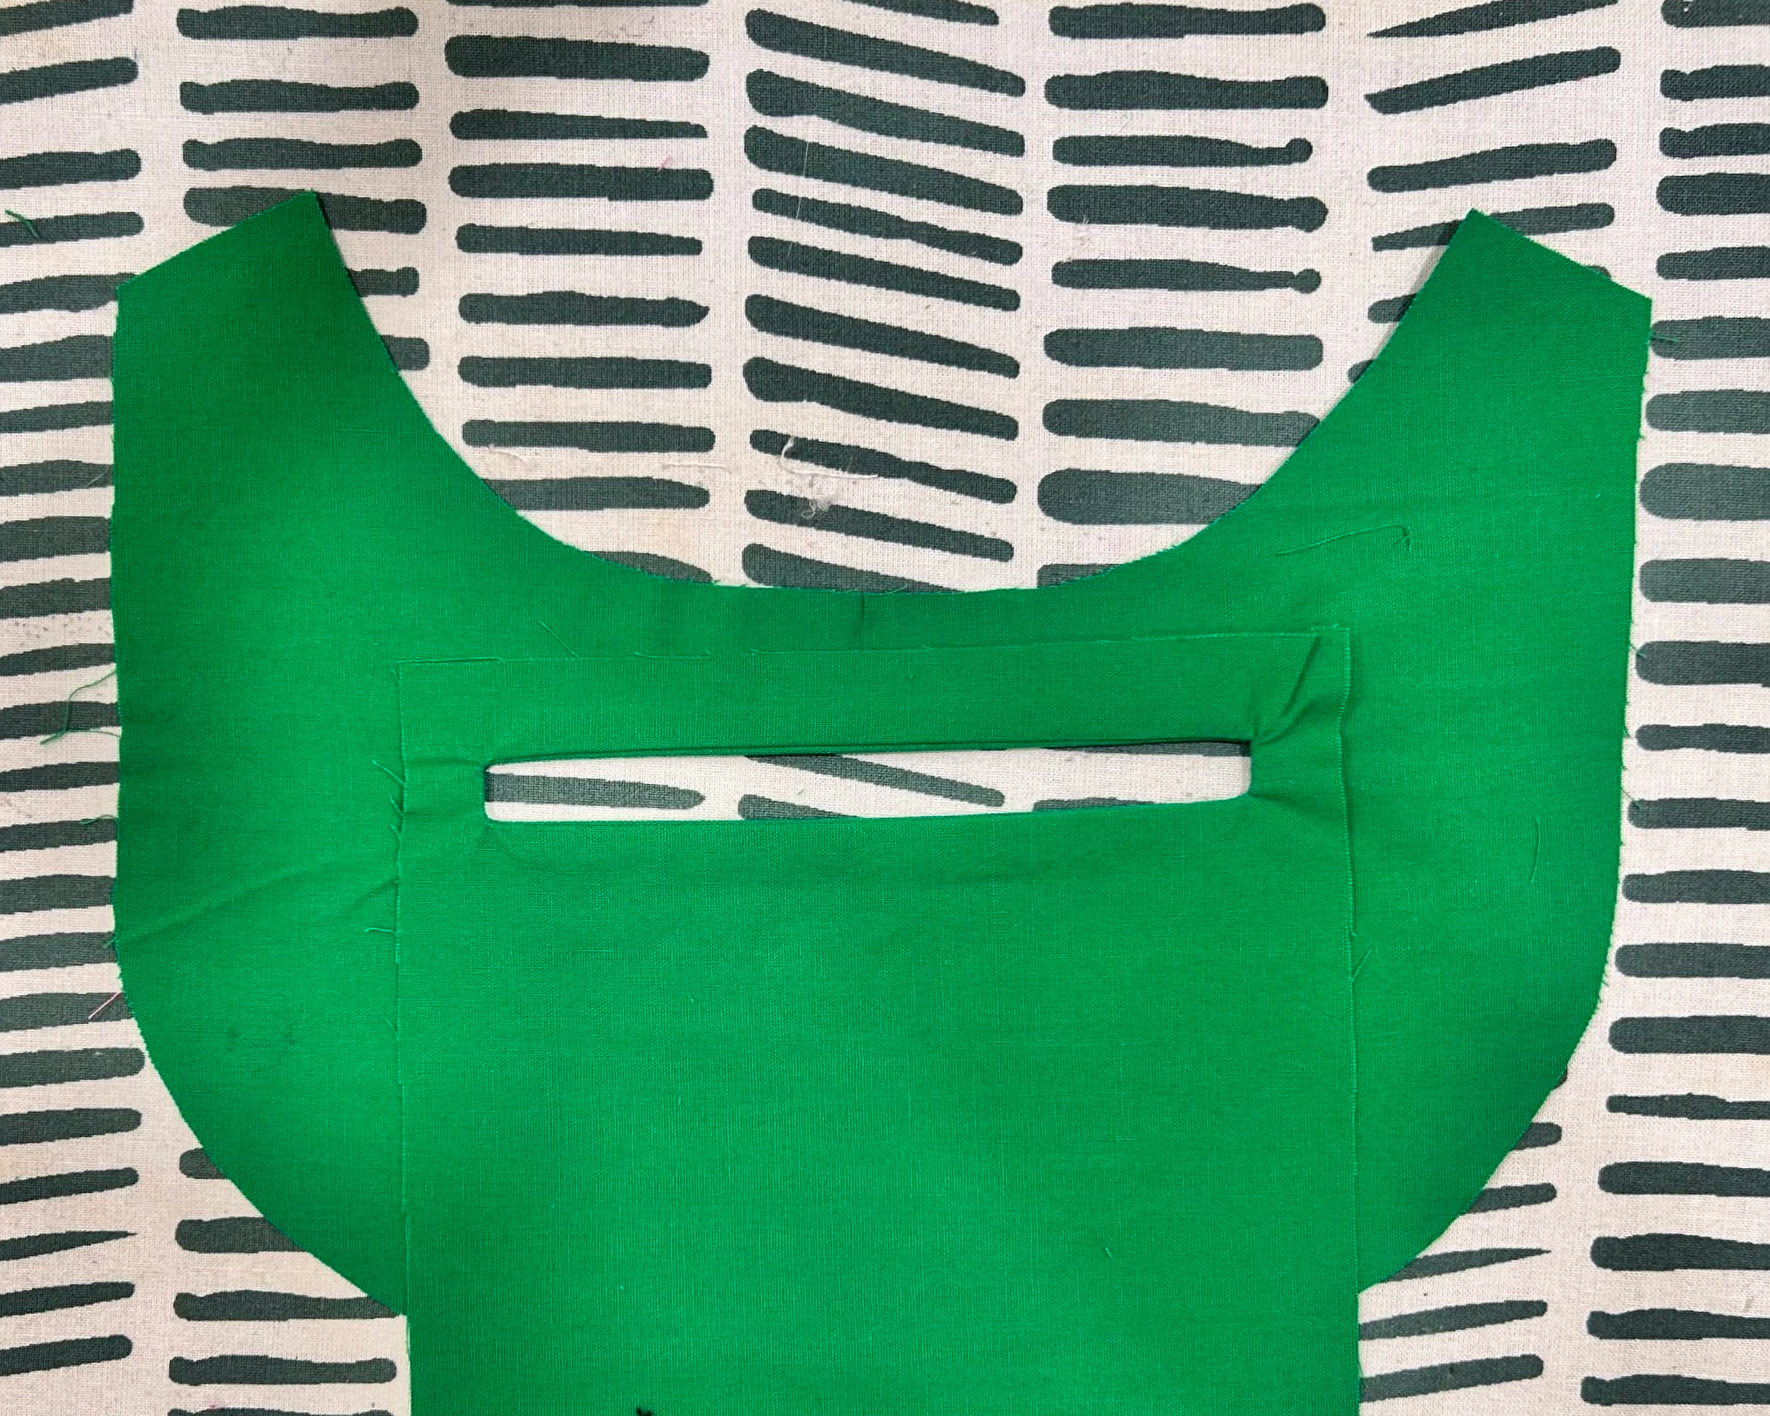
Flip to the right side and place the zipper square in the opening. Sew around the entire opening, stitching the sipper into place.
Now turn back to the wrong side and stitch along the entire opening of the pocket bag. Your zipper pocket should be all done now!
Creating the Inez Bag
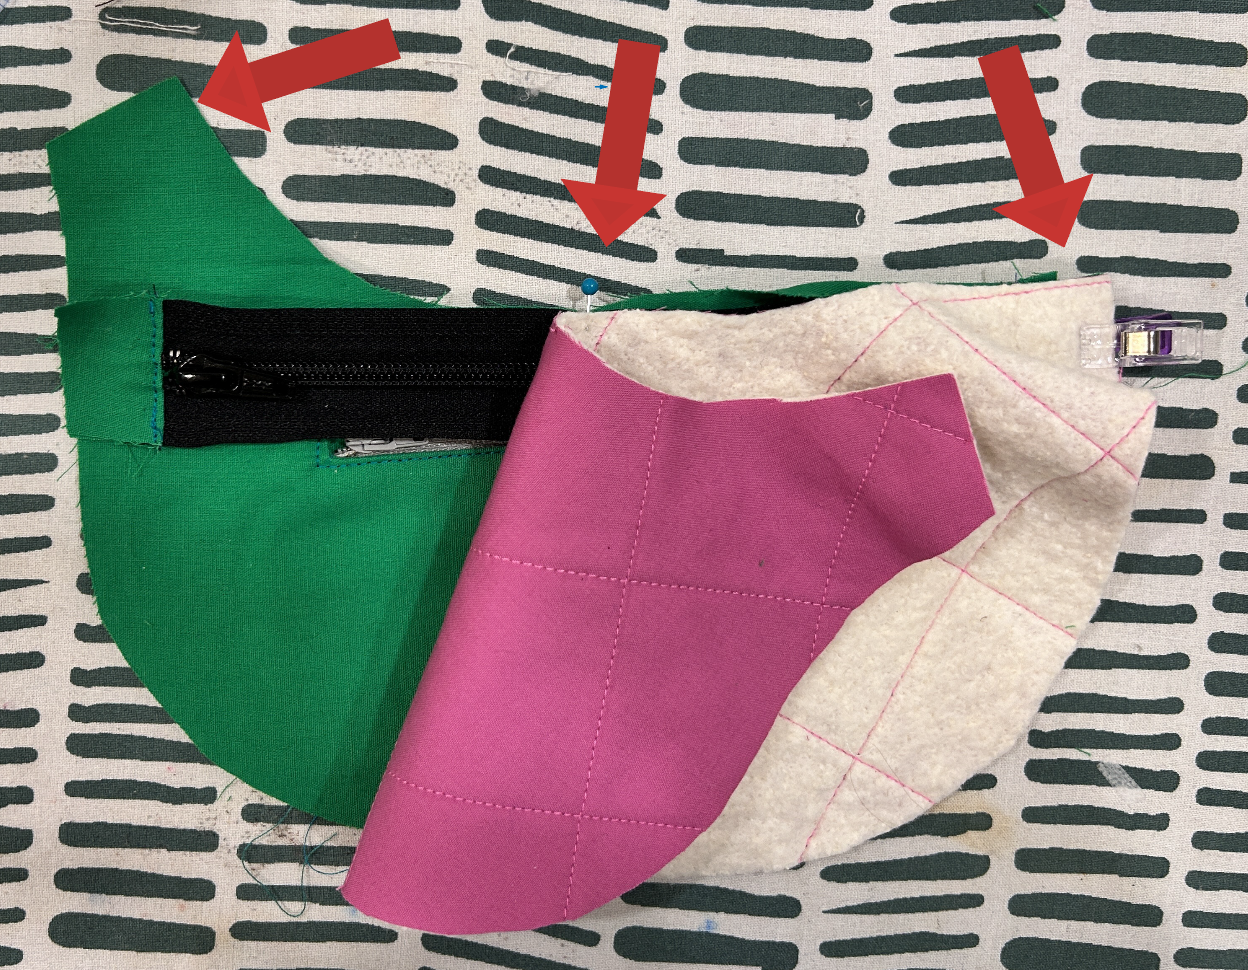
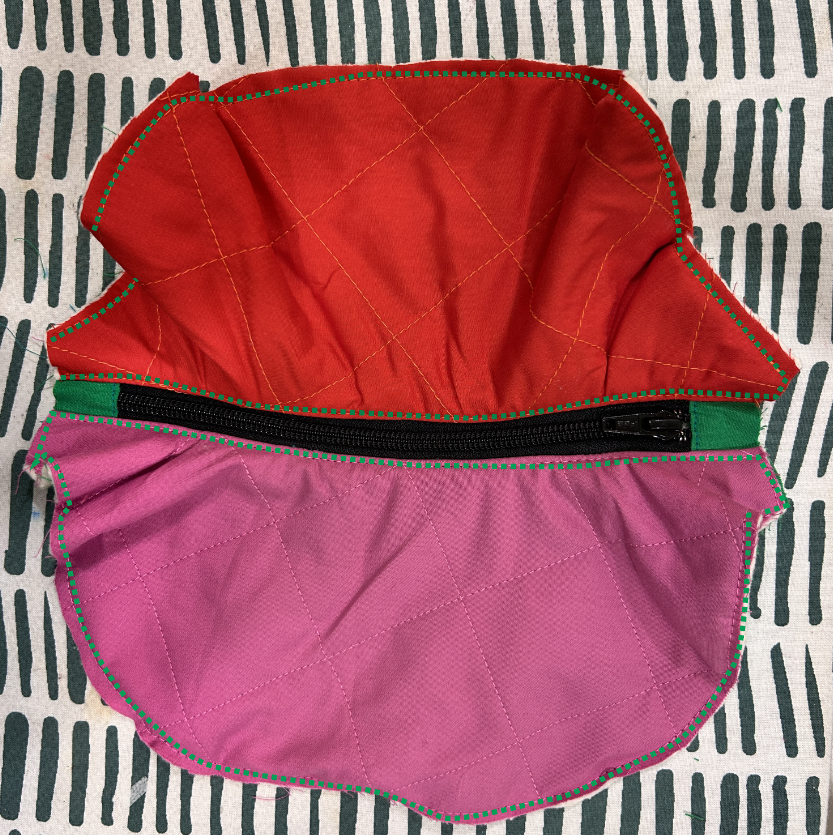
Pinning the zipper in place.
Sandwich the zipper in between the Main fabric and the facing fabric. I like to start by pinning the center of all 3 layers. Then pin the two ends.
Then carefully place clips along the rest of the seam. Take your time with this step and make sure everything is aligned. Switch to your zipper foot and sew along the edge at about 3/8th of an inch.
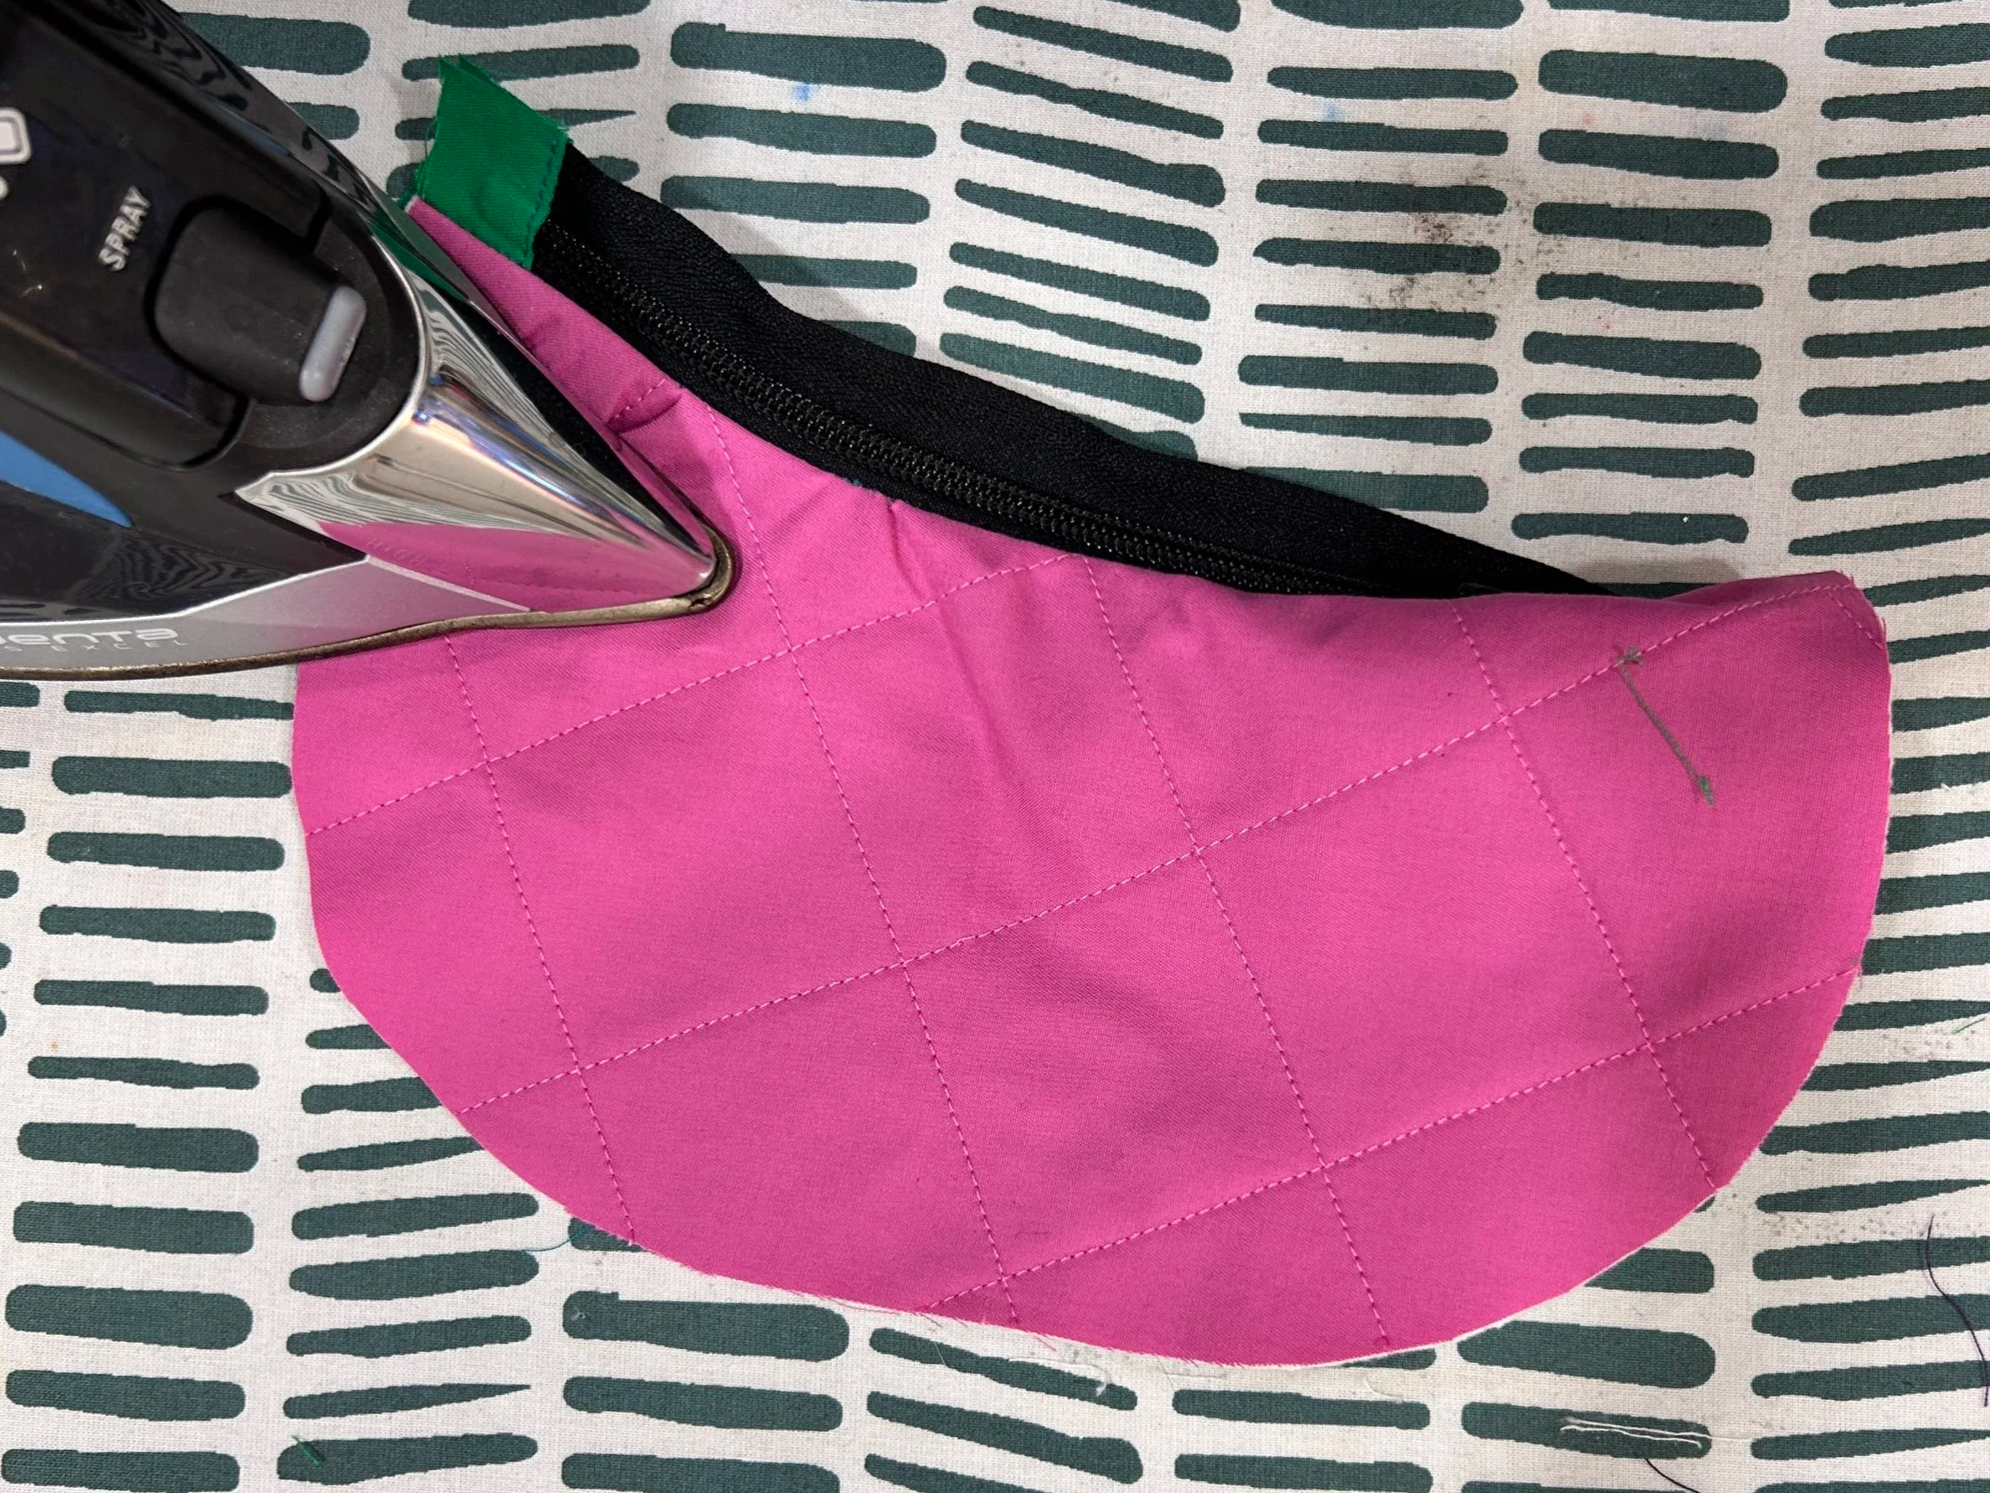
Flip to the right side and give it a nice press along the sewn seam. If there are any puckers, now is the time to take out a few stitches and re-sew. It will make your bag look a lot better so don’t skip this step!
Once there are no puckers and everything is aligned. You will top stitch as well as continue around the perimeter of each side, sewing the main fabric to the lining to keep it in place while you attach the bottom/side panel.
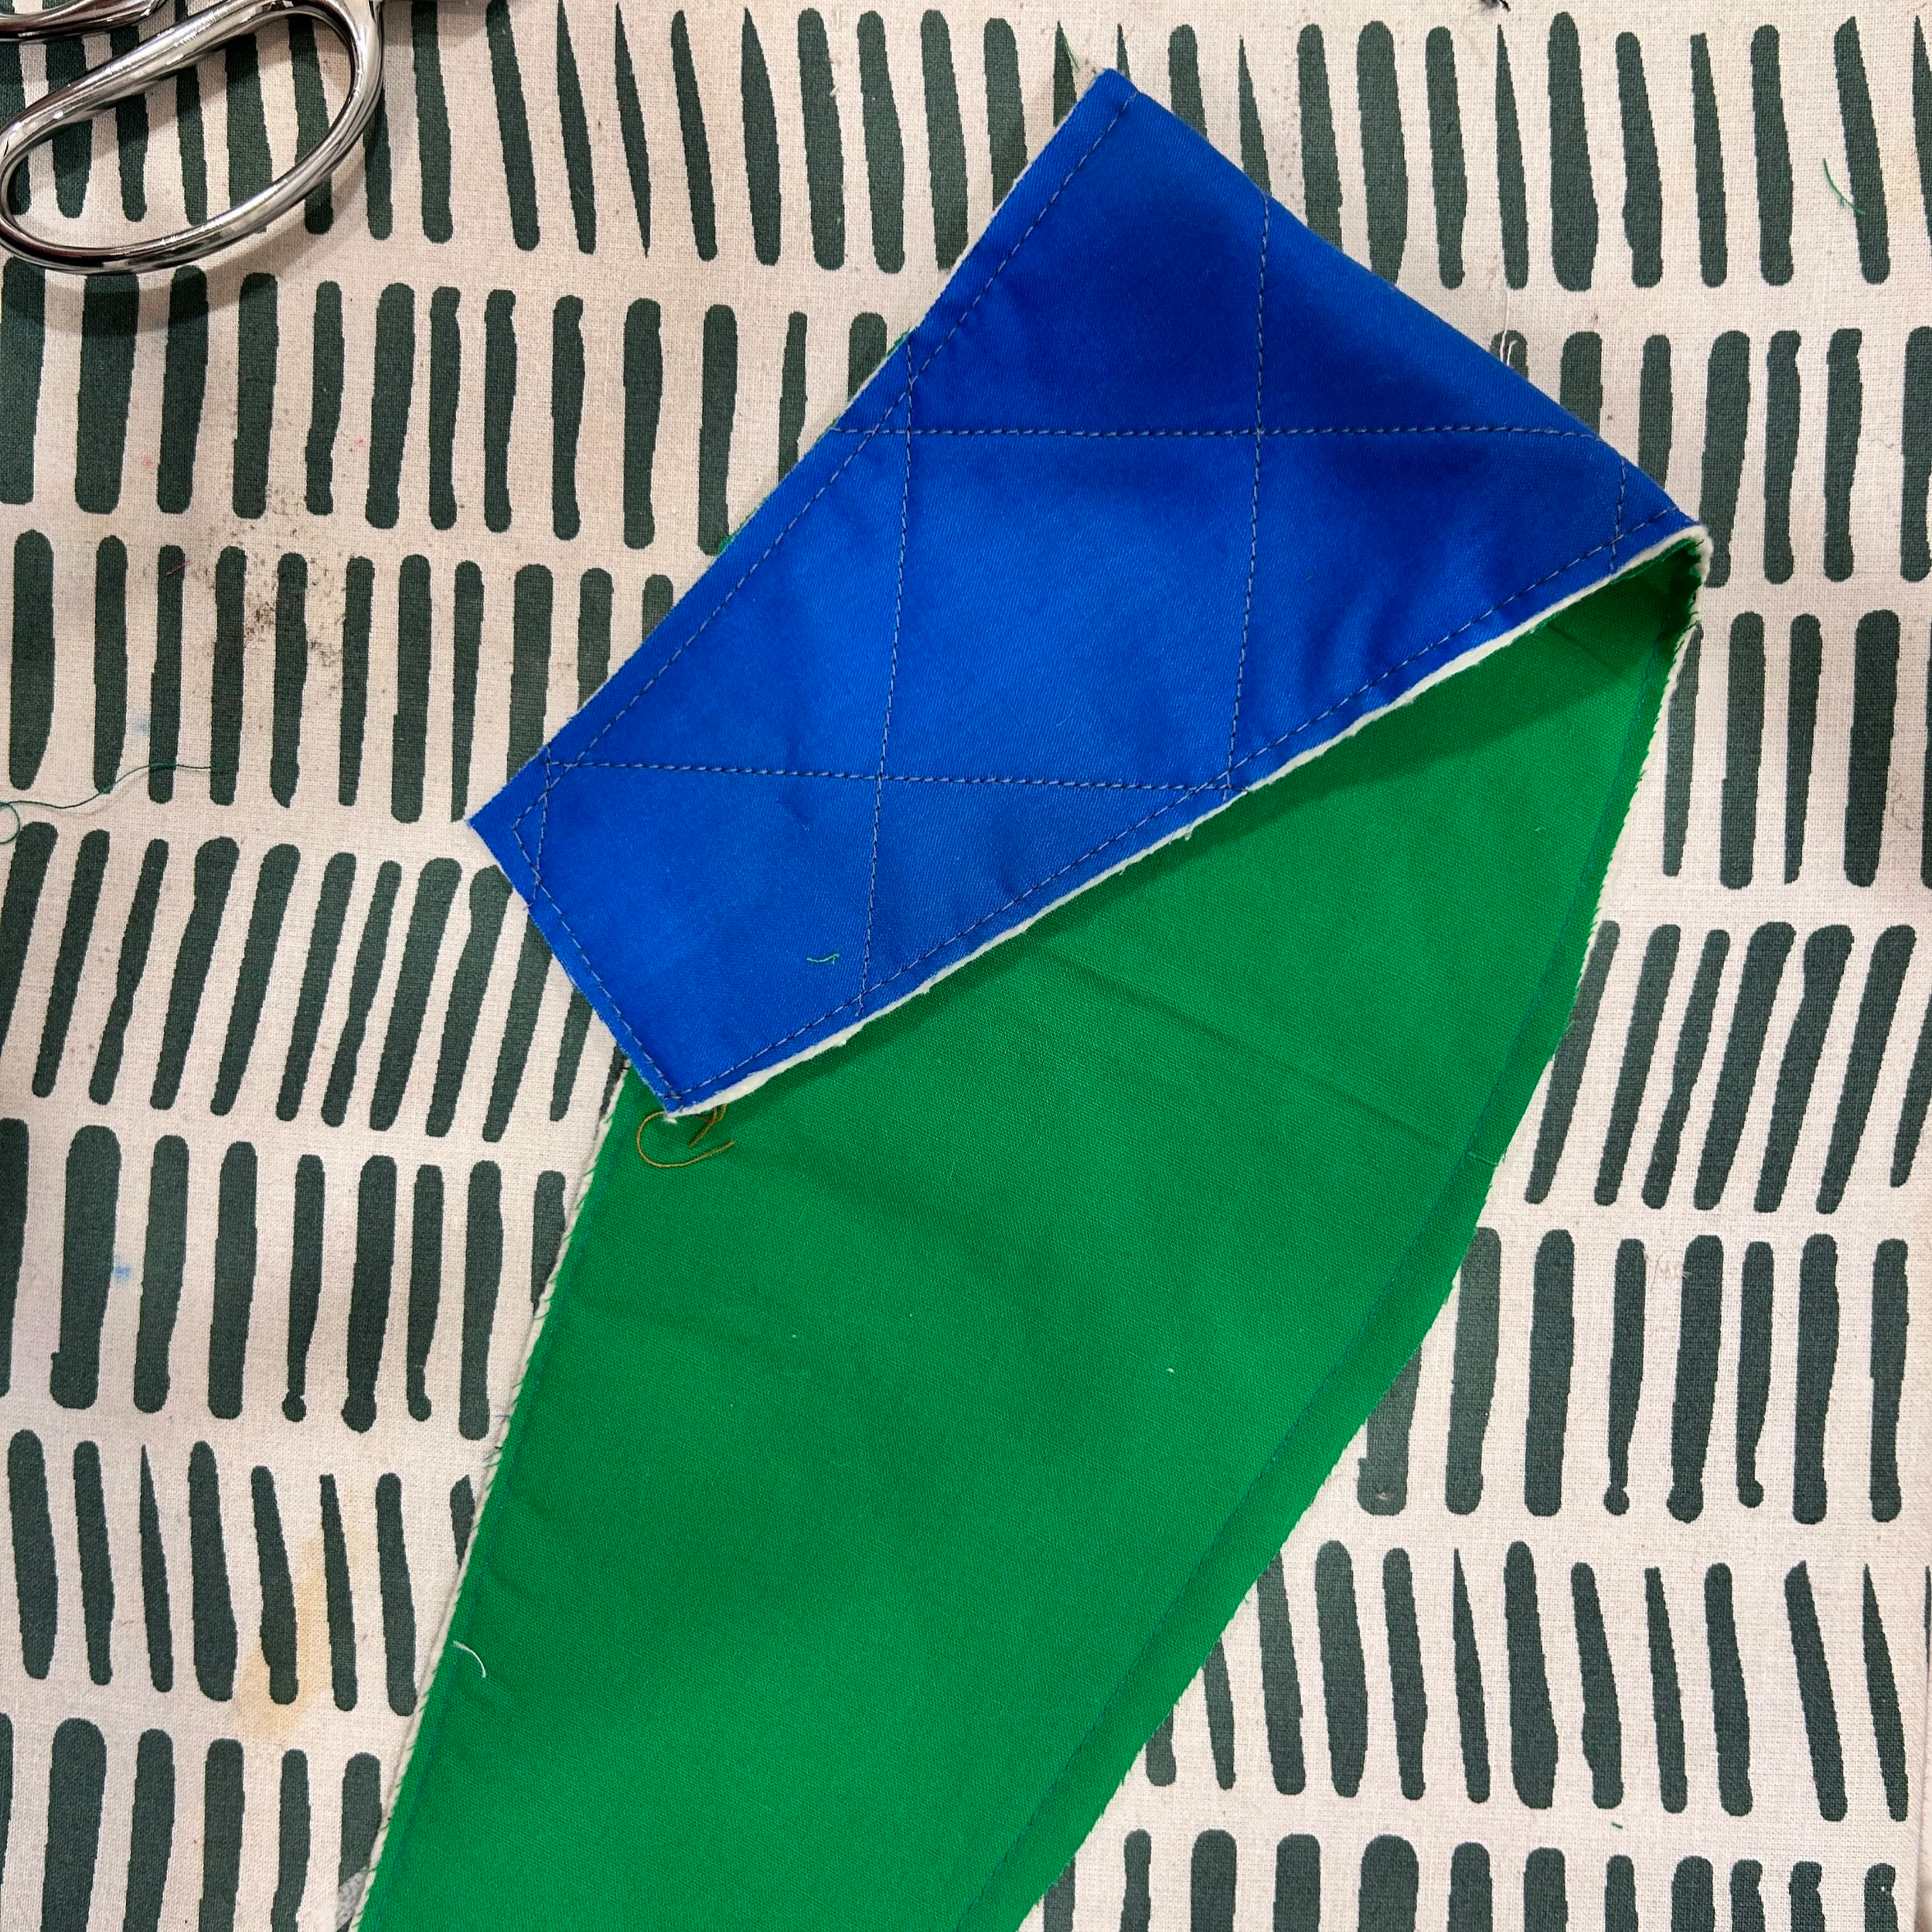
Take the Extension pieces and sandwich the main piece between the two. The widest part of the extension piece should meet the edge of the main body piece. Sew and then flip; iron and topstitch.
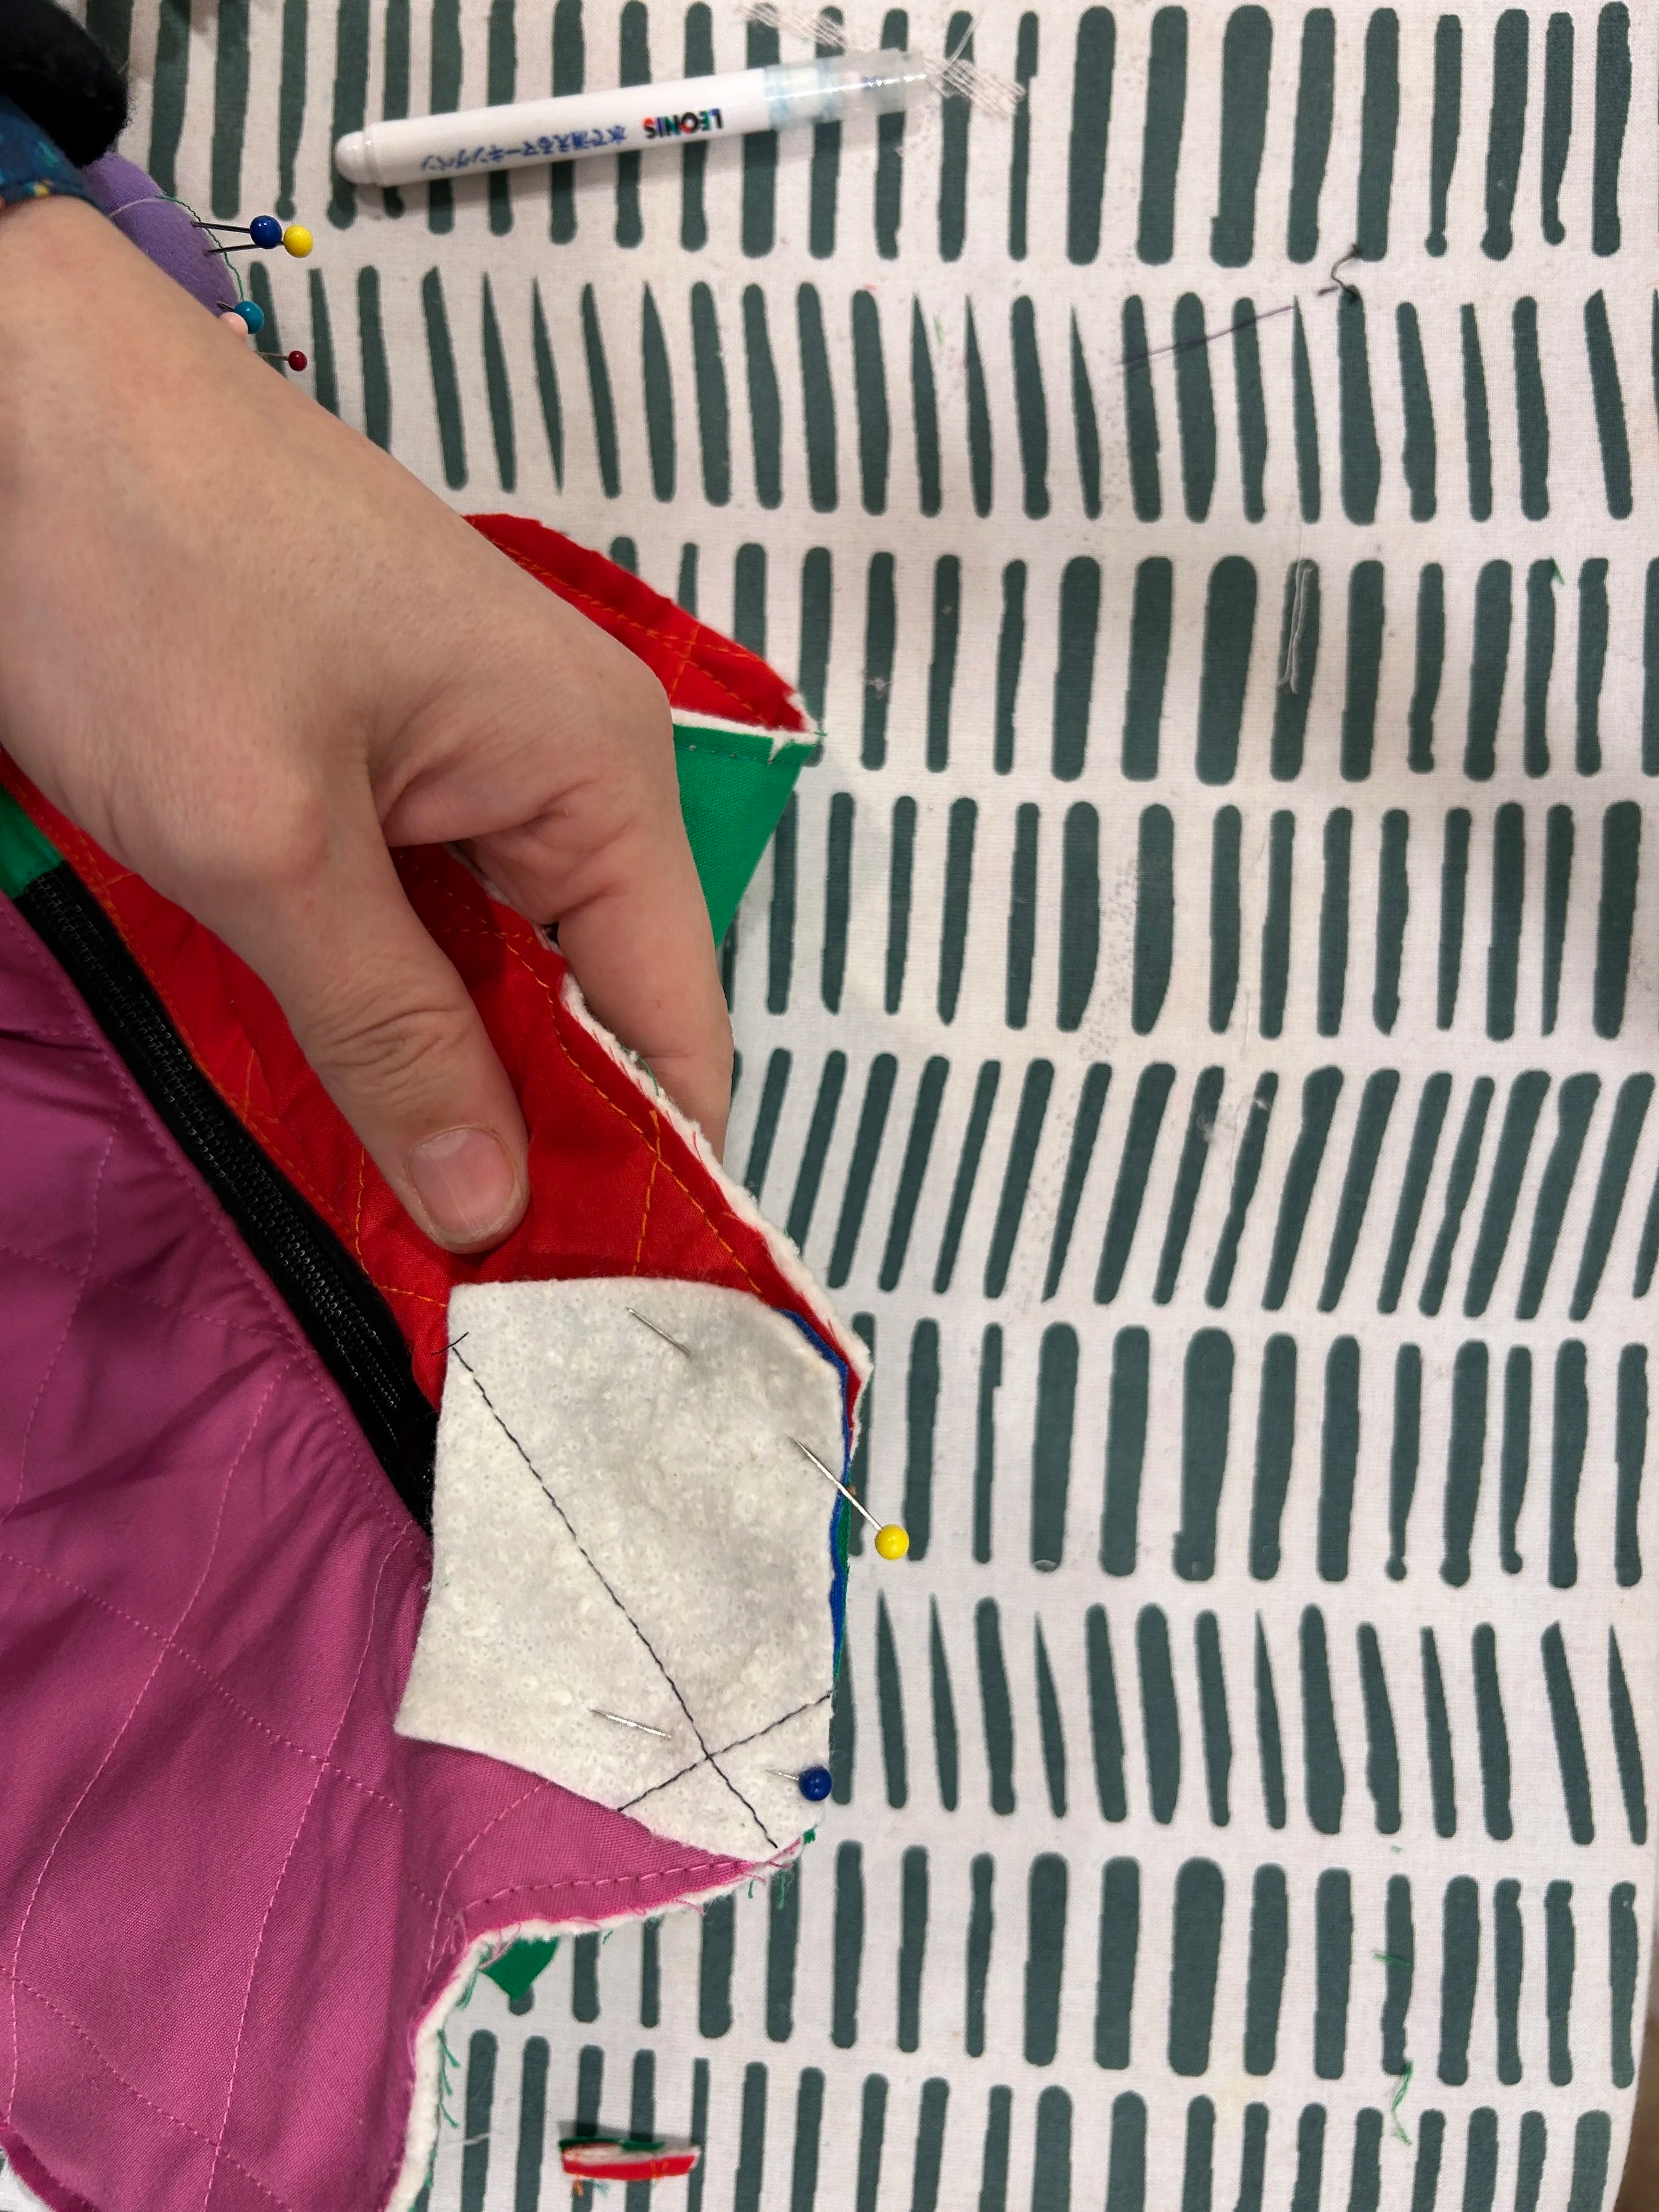
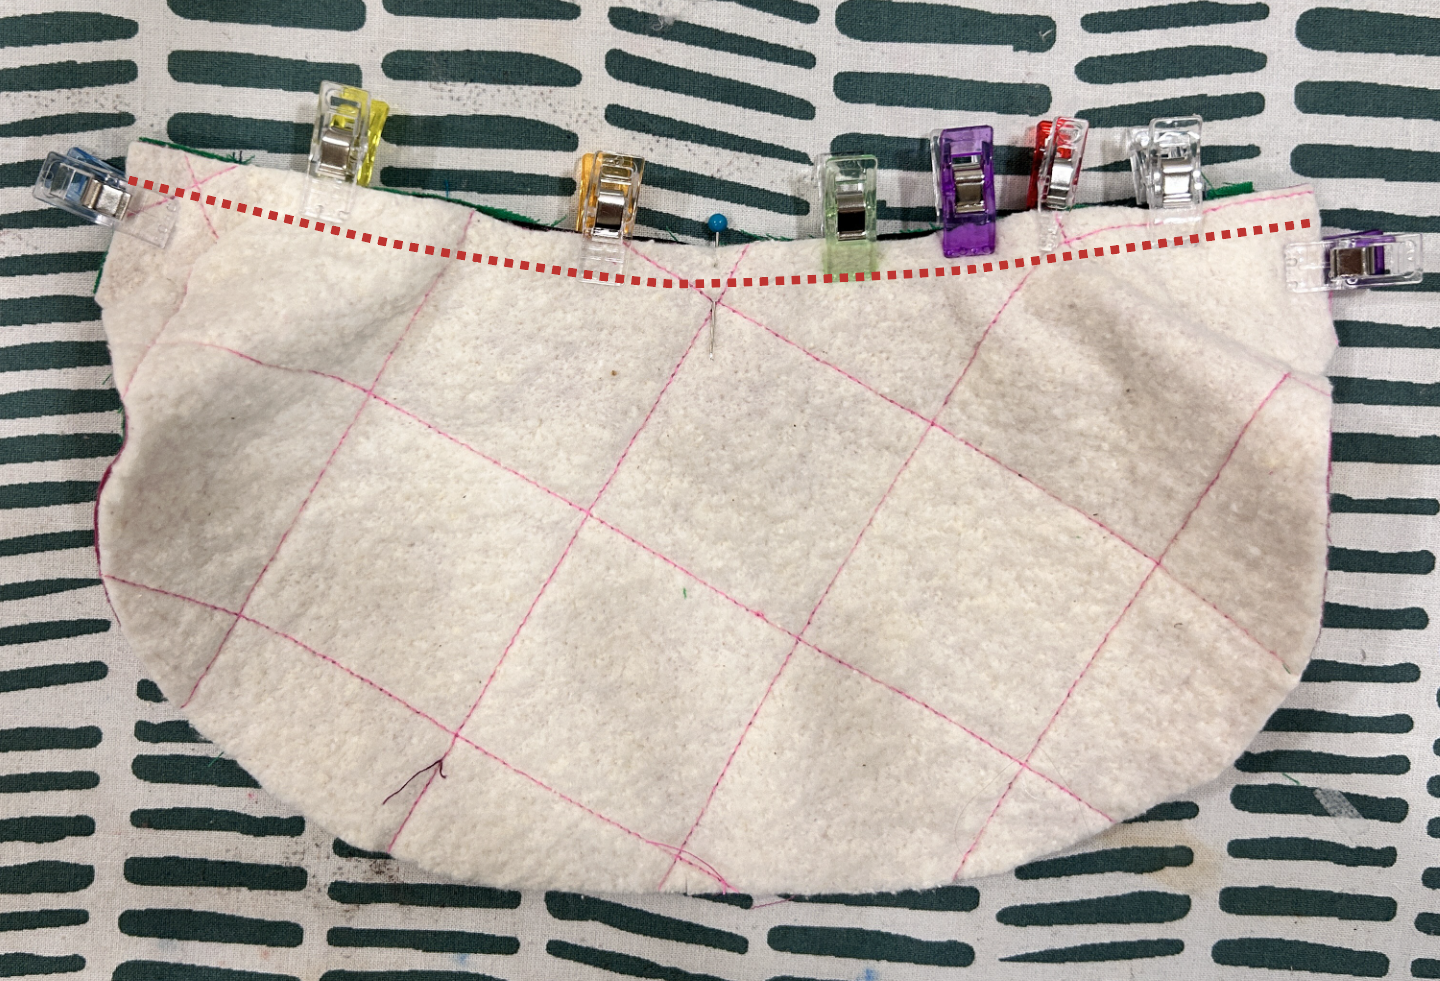
For the side panel stay stitch the lining to the main fabric. This is to keep it in place when sewing the bag. Trim any overhang or excess to ensure a clean seam.
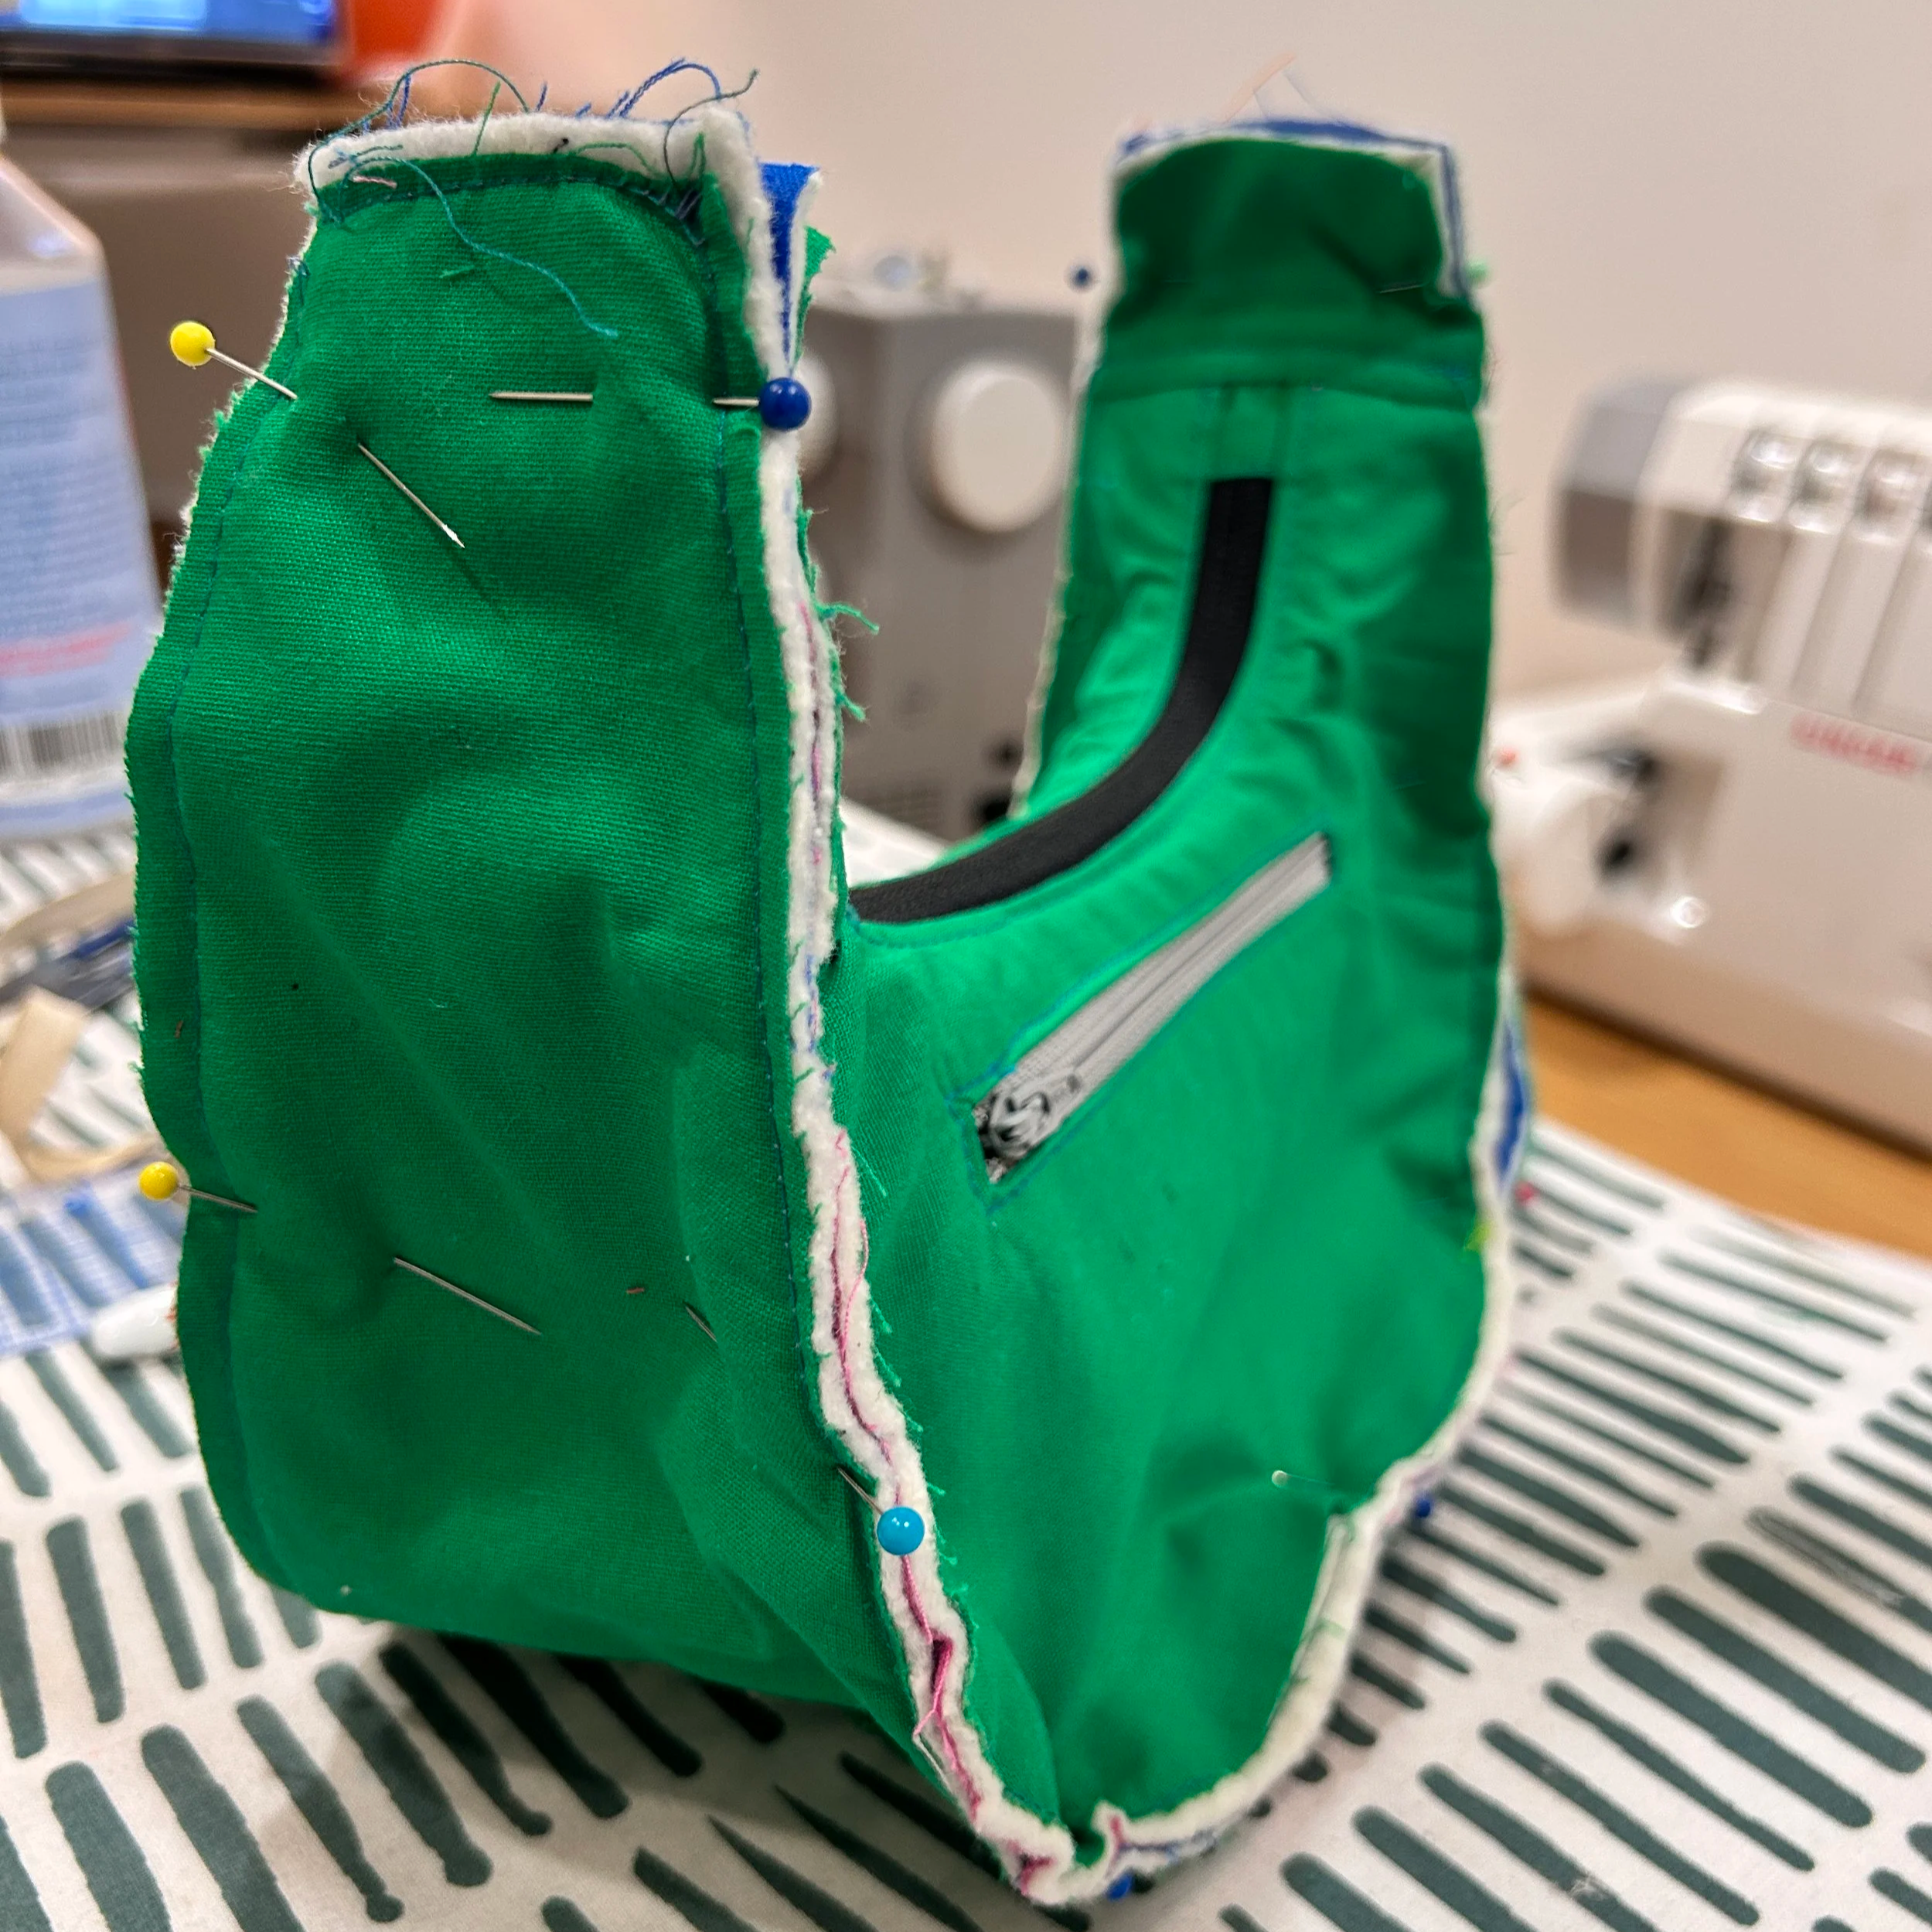
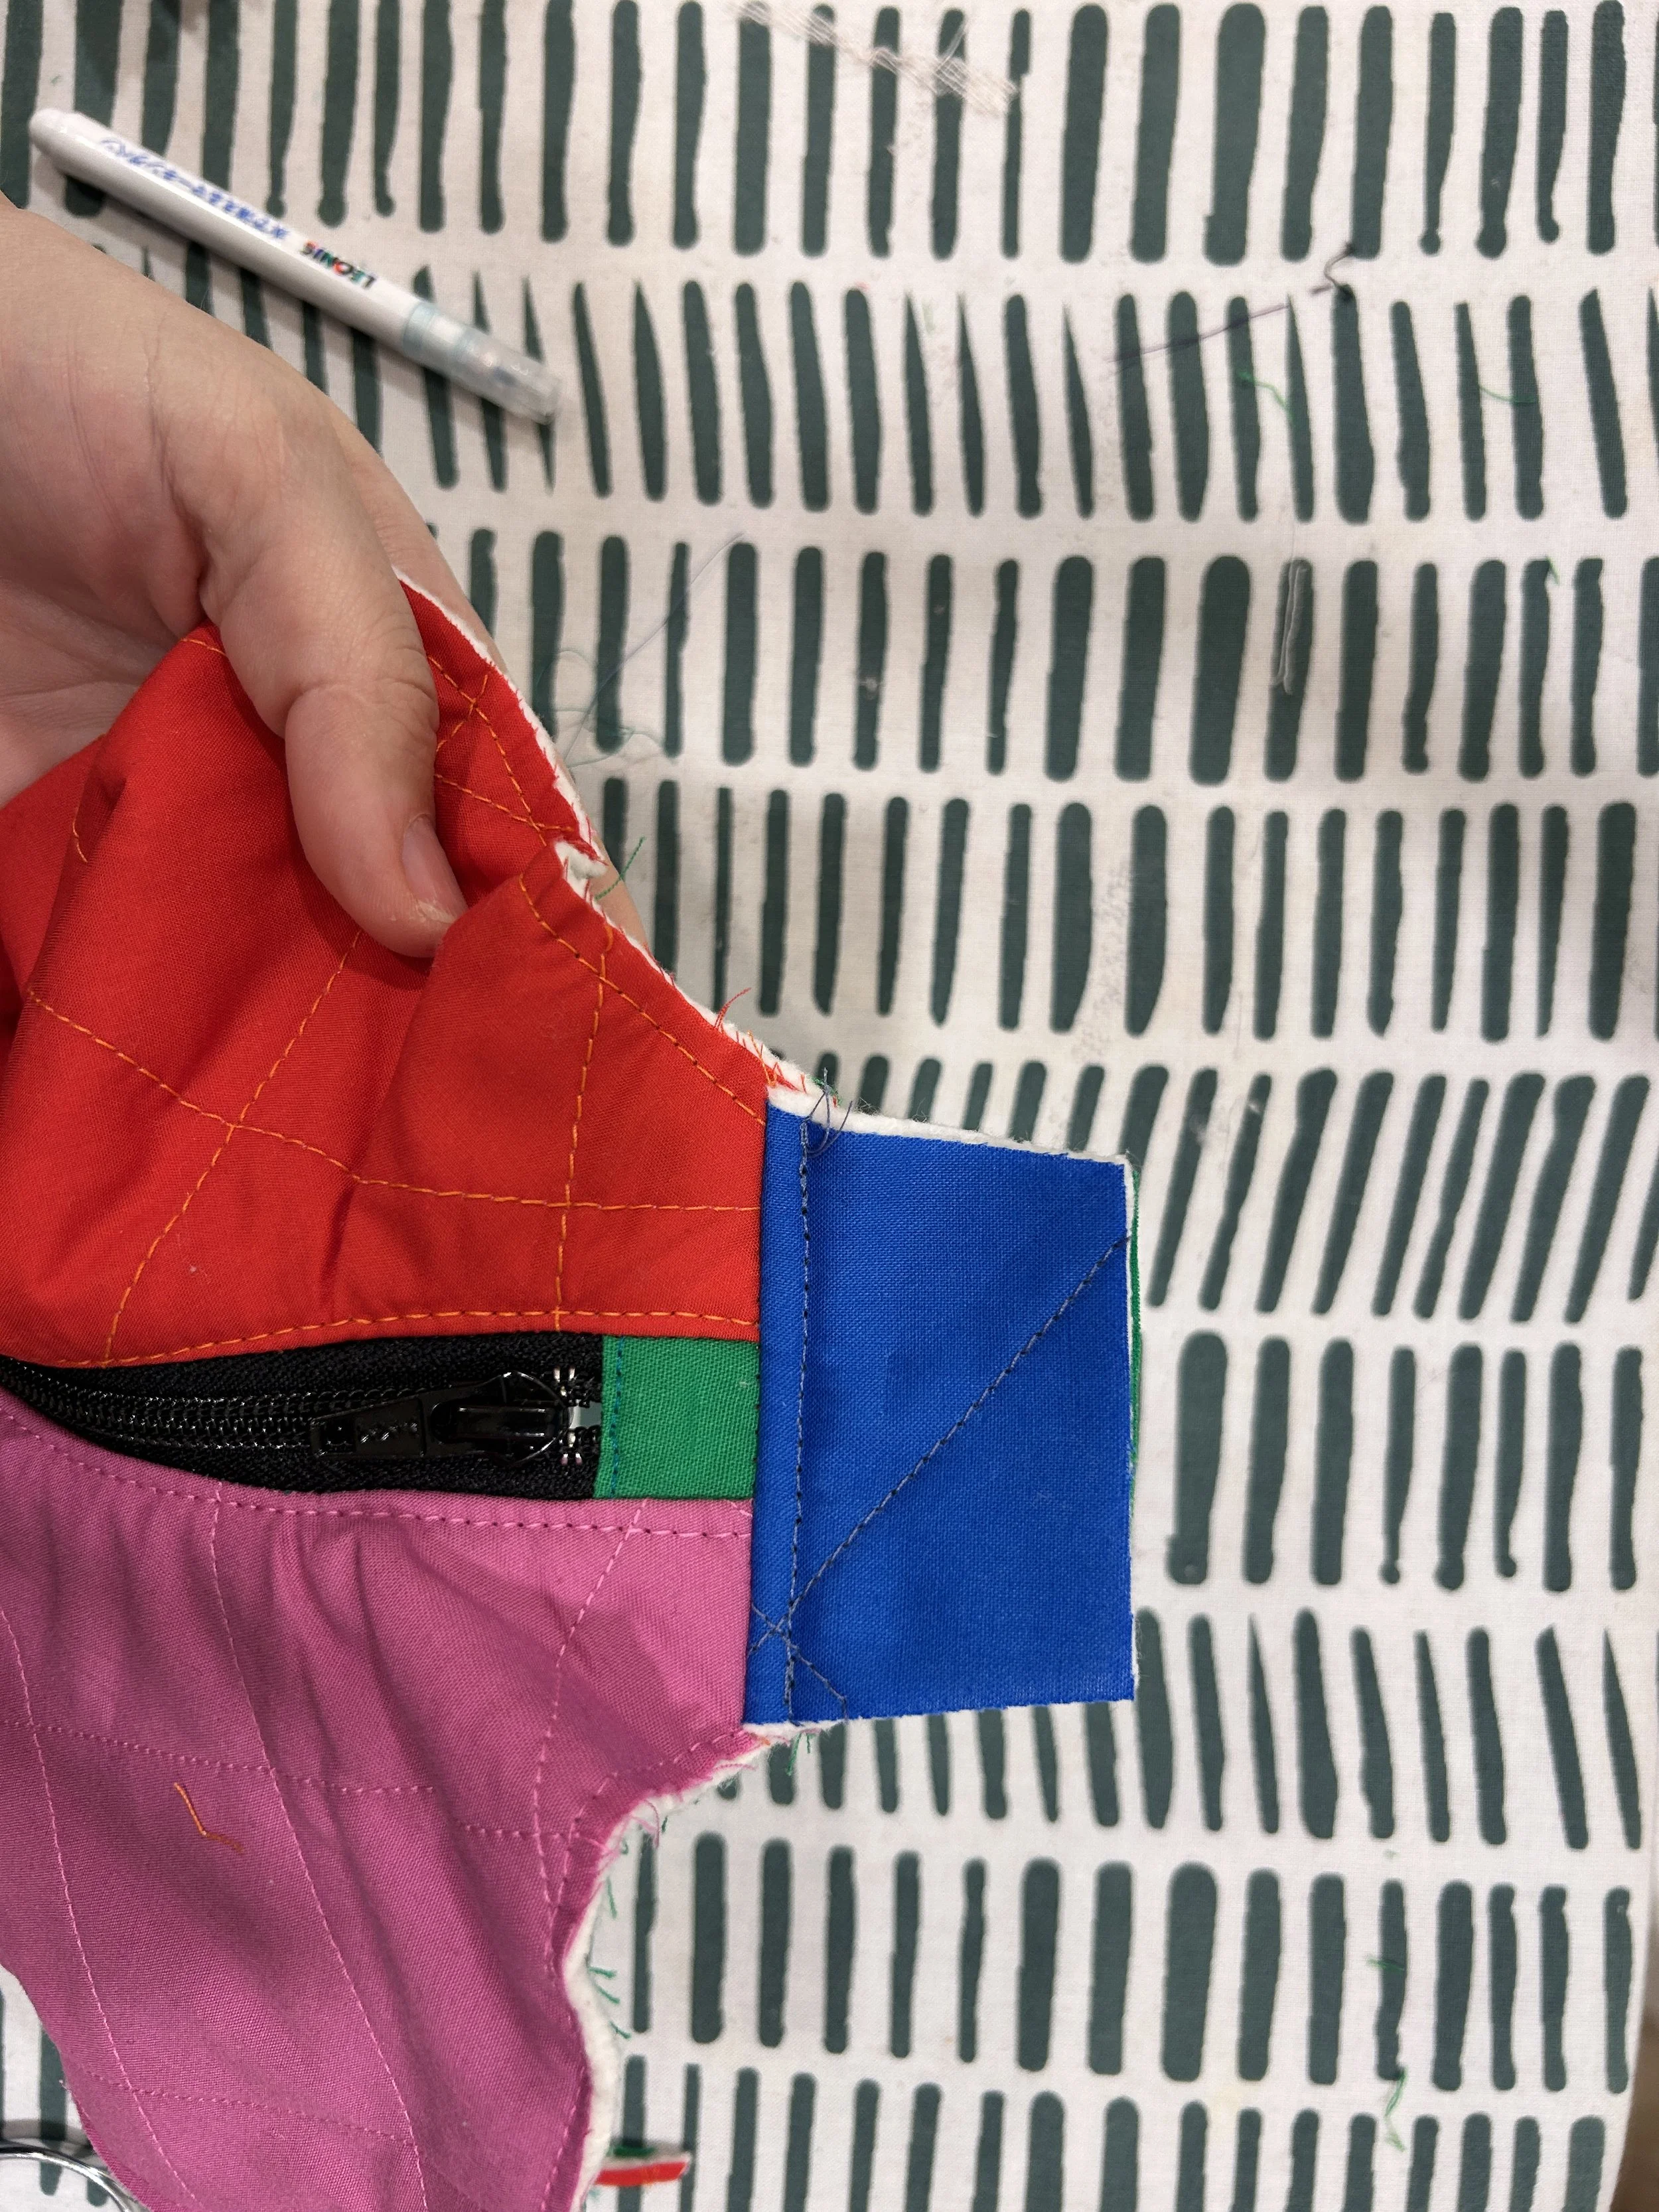
Attach the side/bottom panel to the main body of the bag. Start by aligning the centers and the ends, and then pinning the rest from there. Once you have it all lined up, sew along the entire edge. Repeat on the other side.
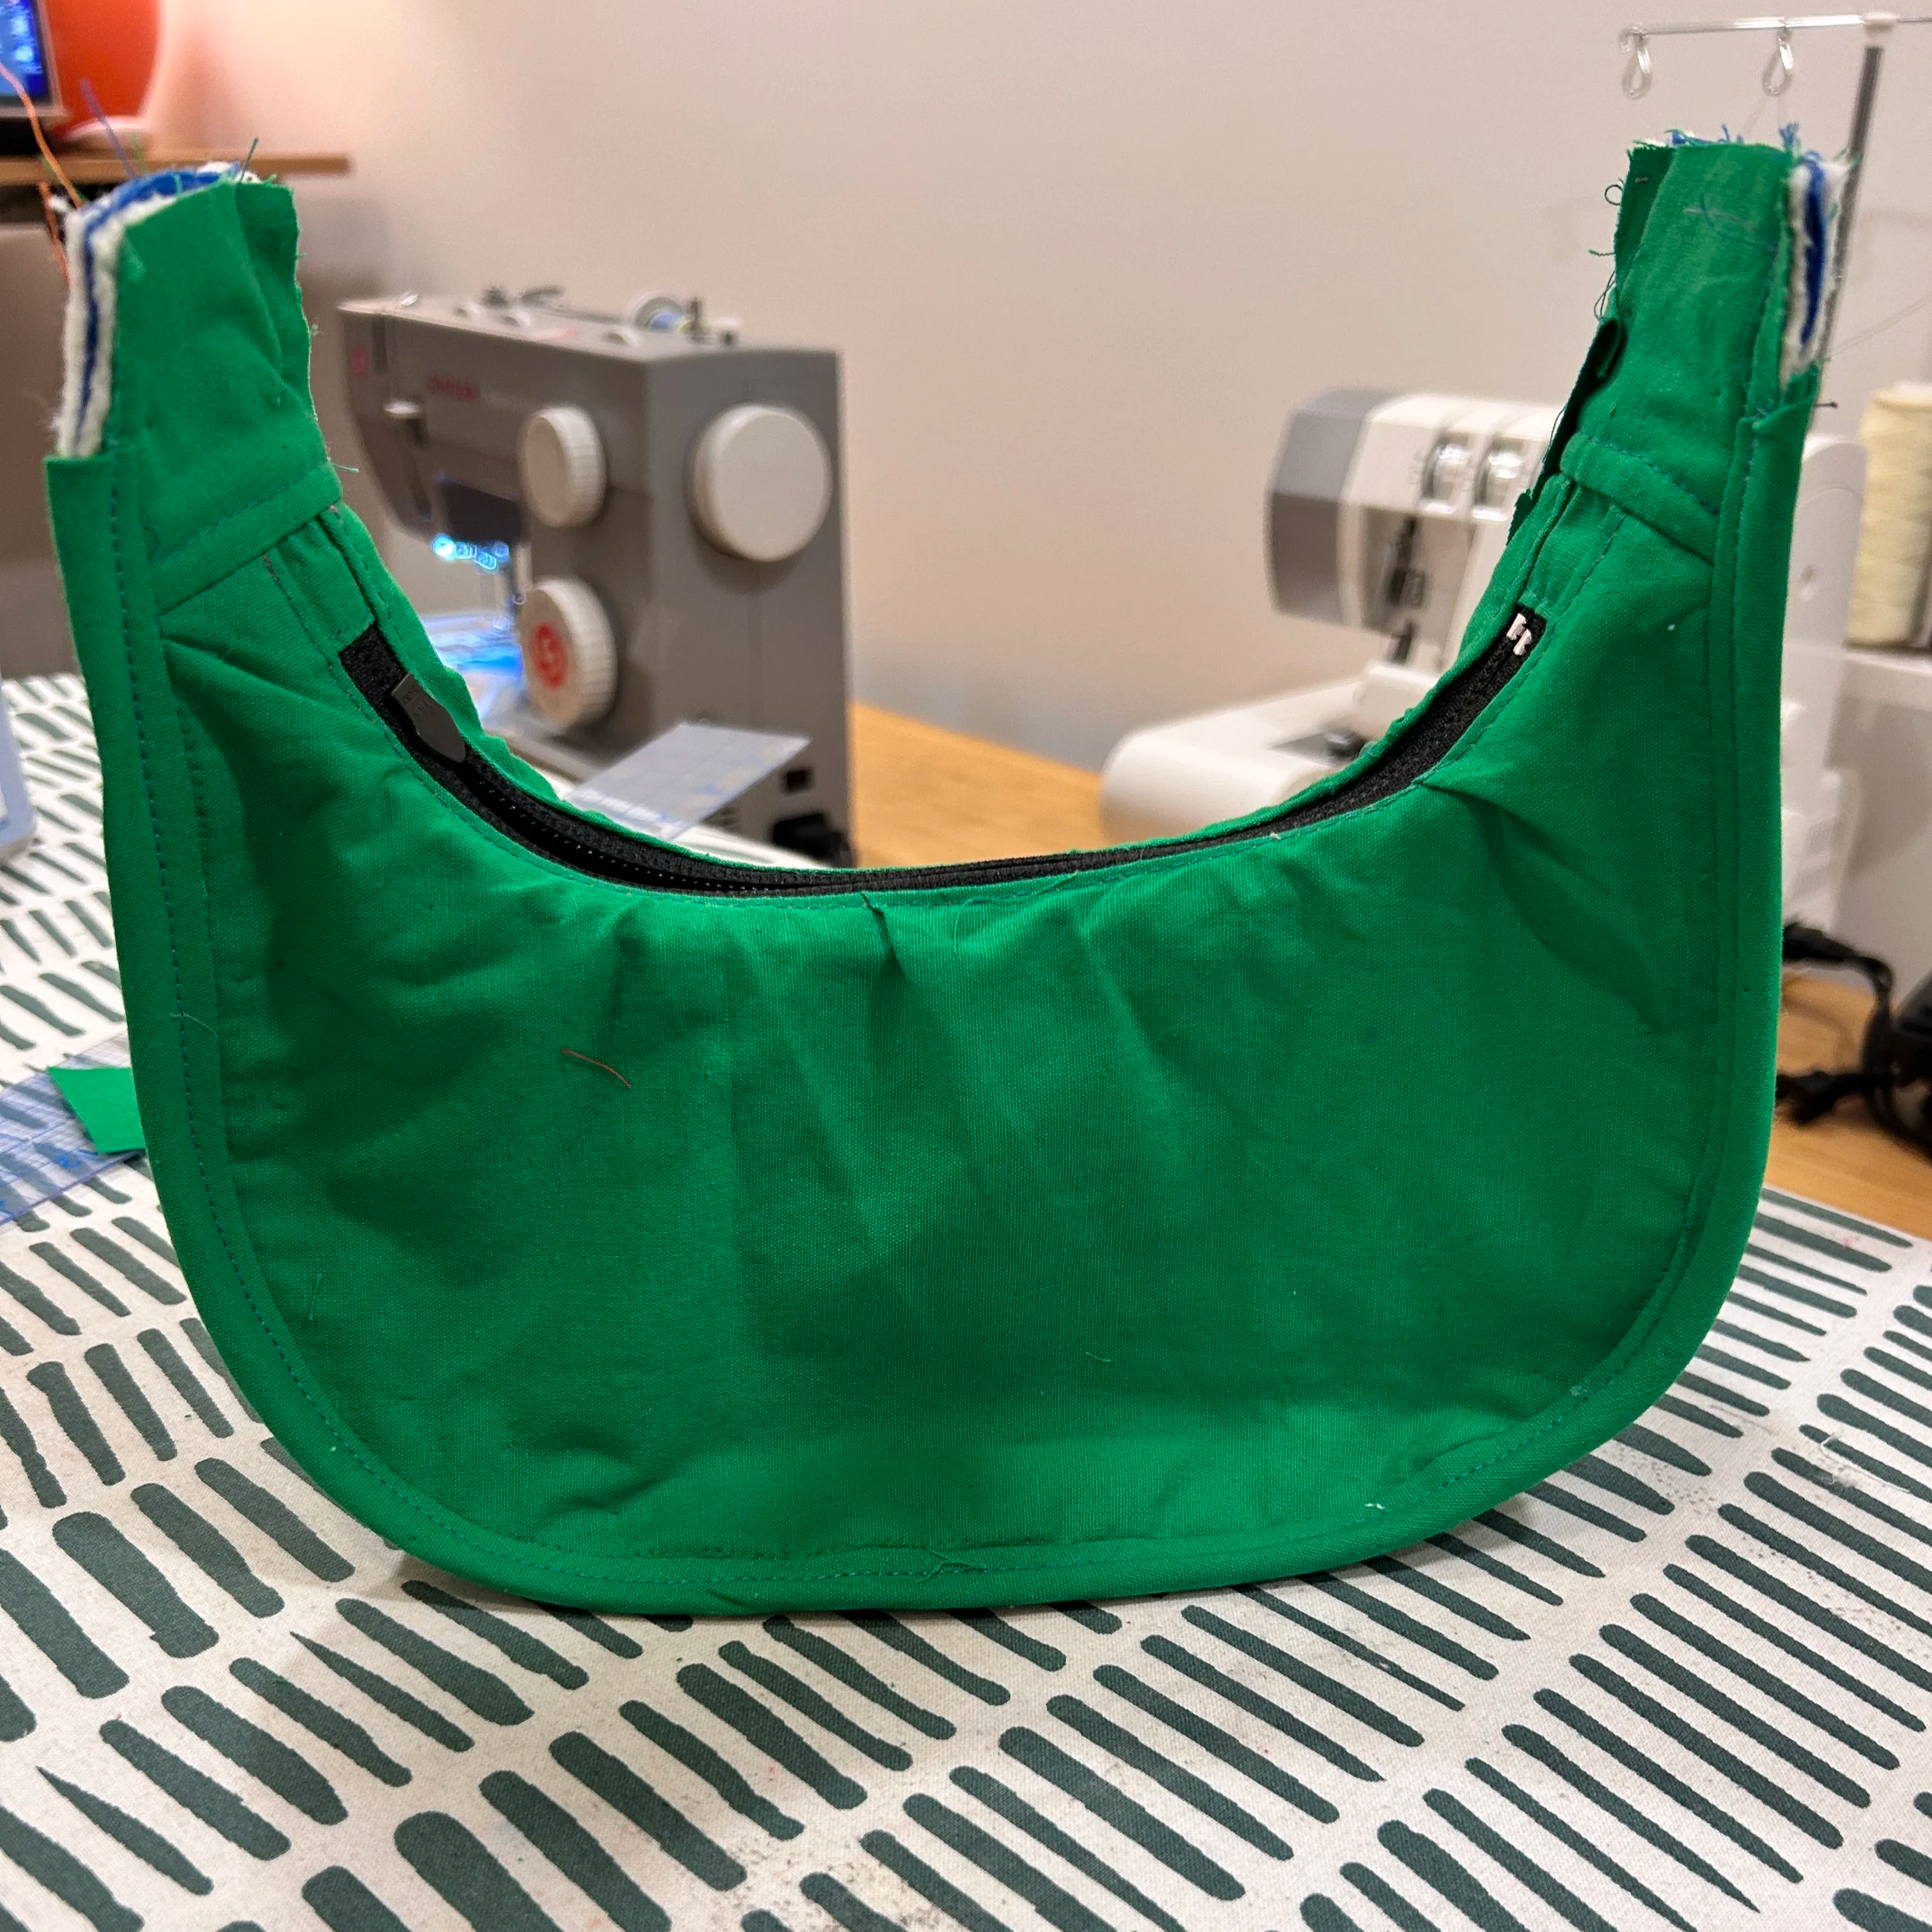
Add bias binding starting about 1.5 inches from the top. This is to help reduce bulk when you are adding the strap, as you will be sewing through quite a few layers.